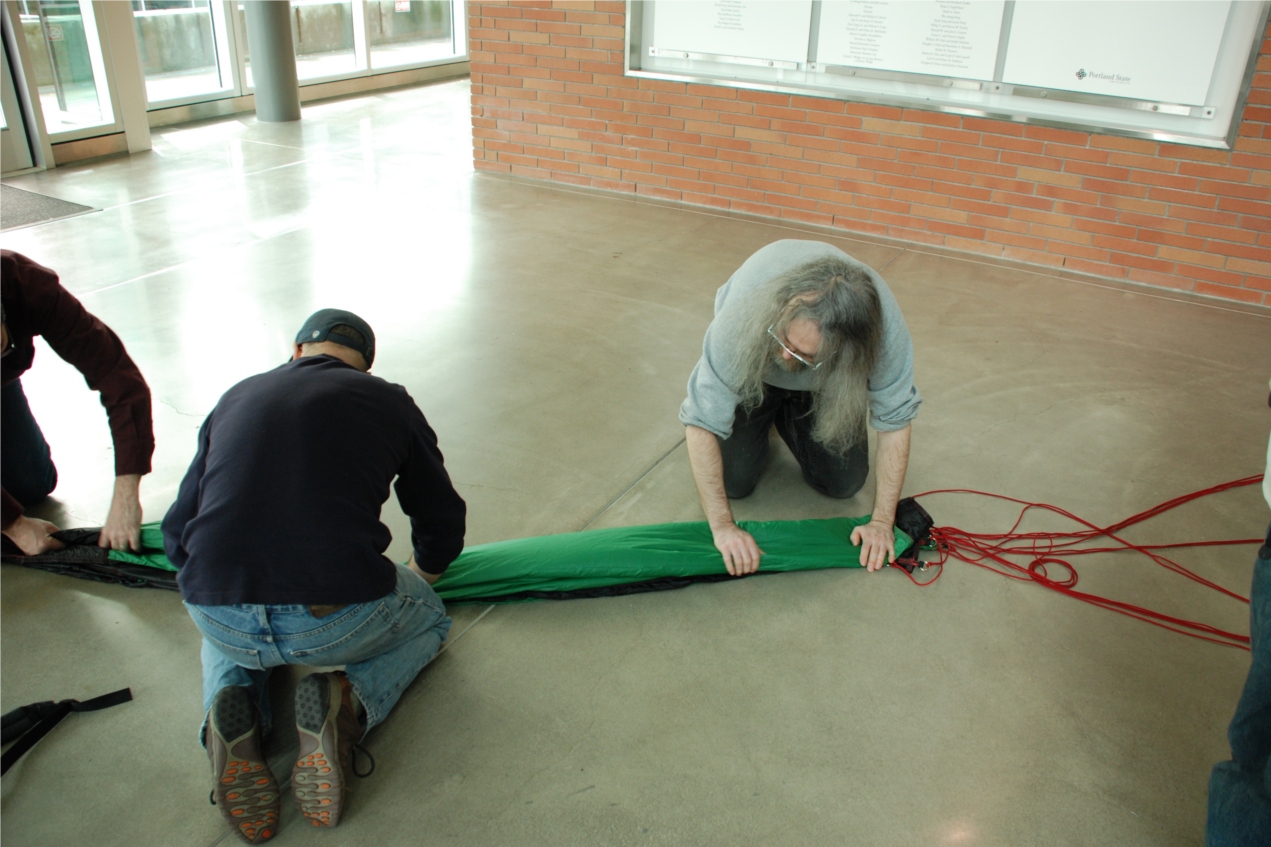
Dave, Tim, Hyunjin, K, Nathan, Eric and Andrew met in the atrium of the Engineering Building at PSU today to run a few parachute tests.
Nosecone "push" tests
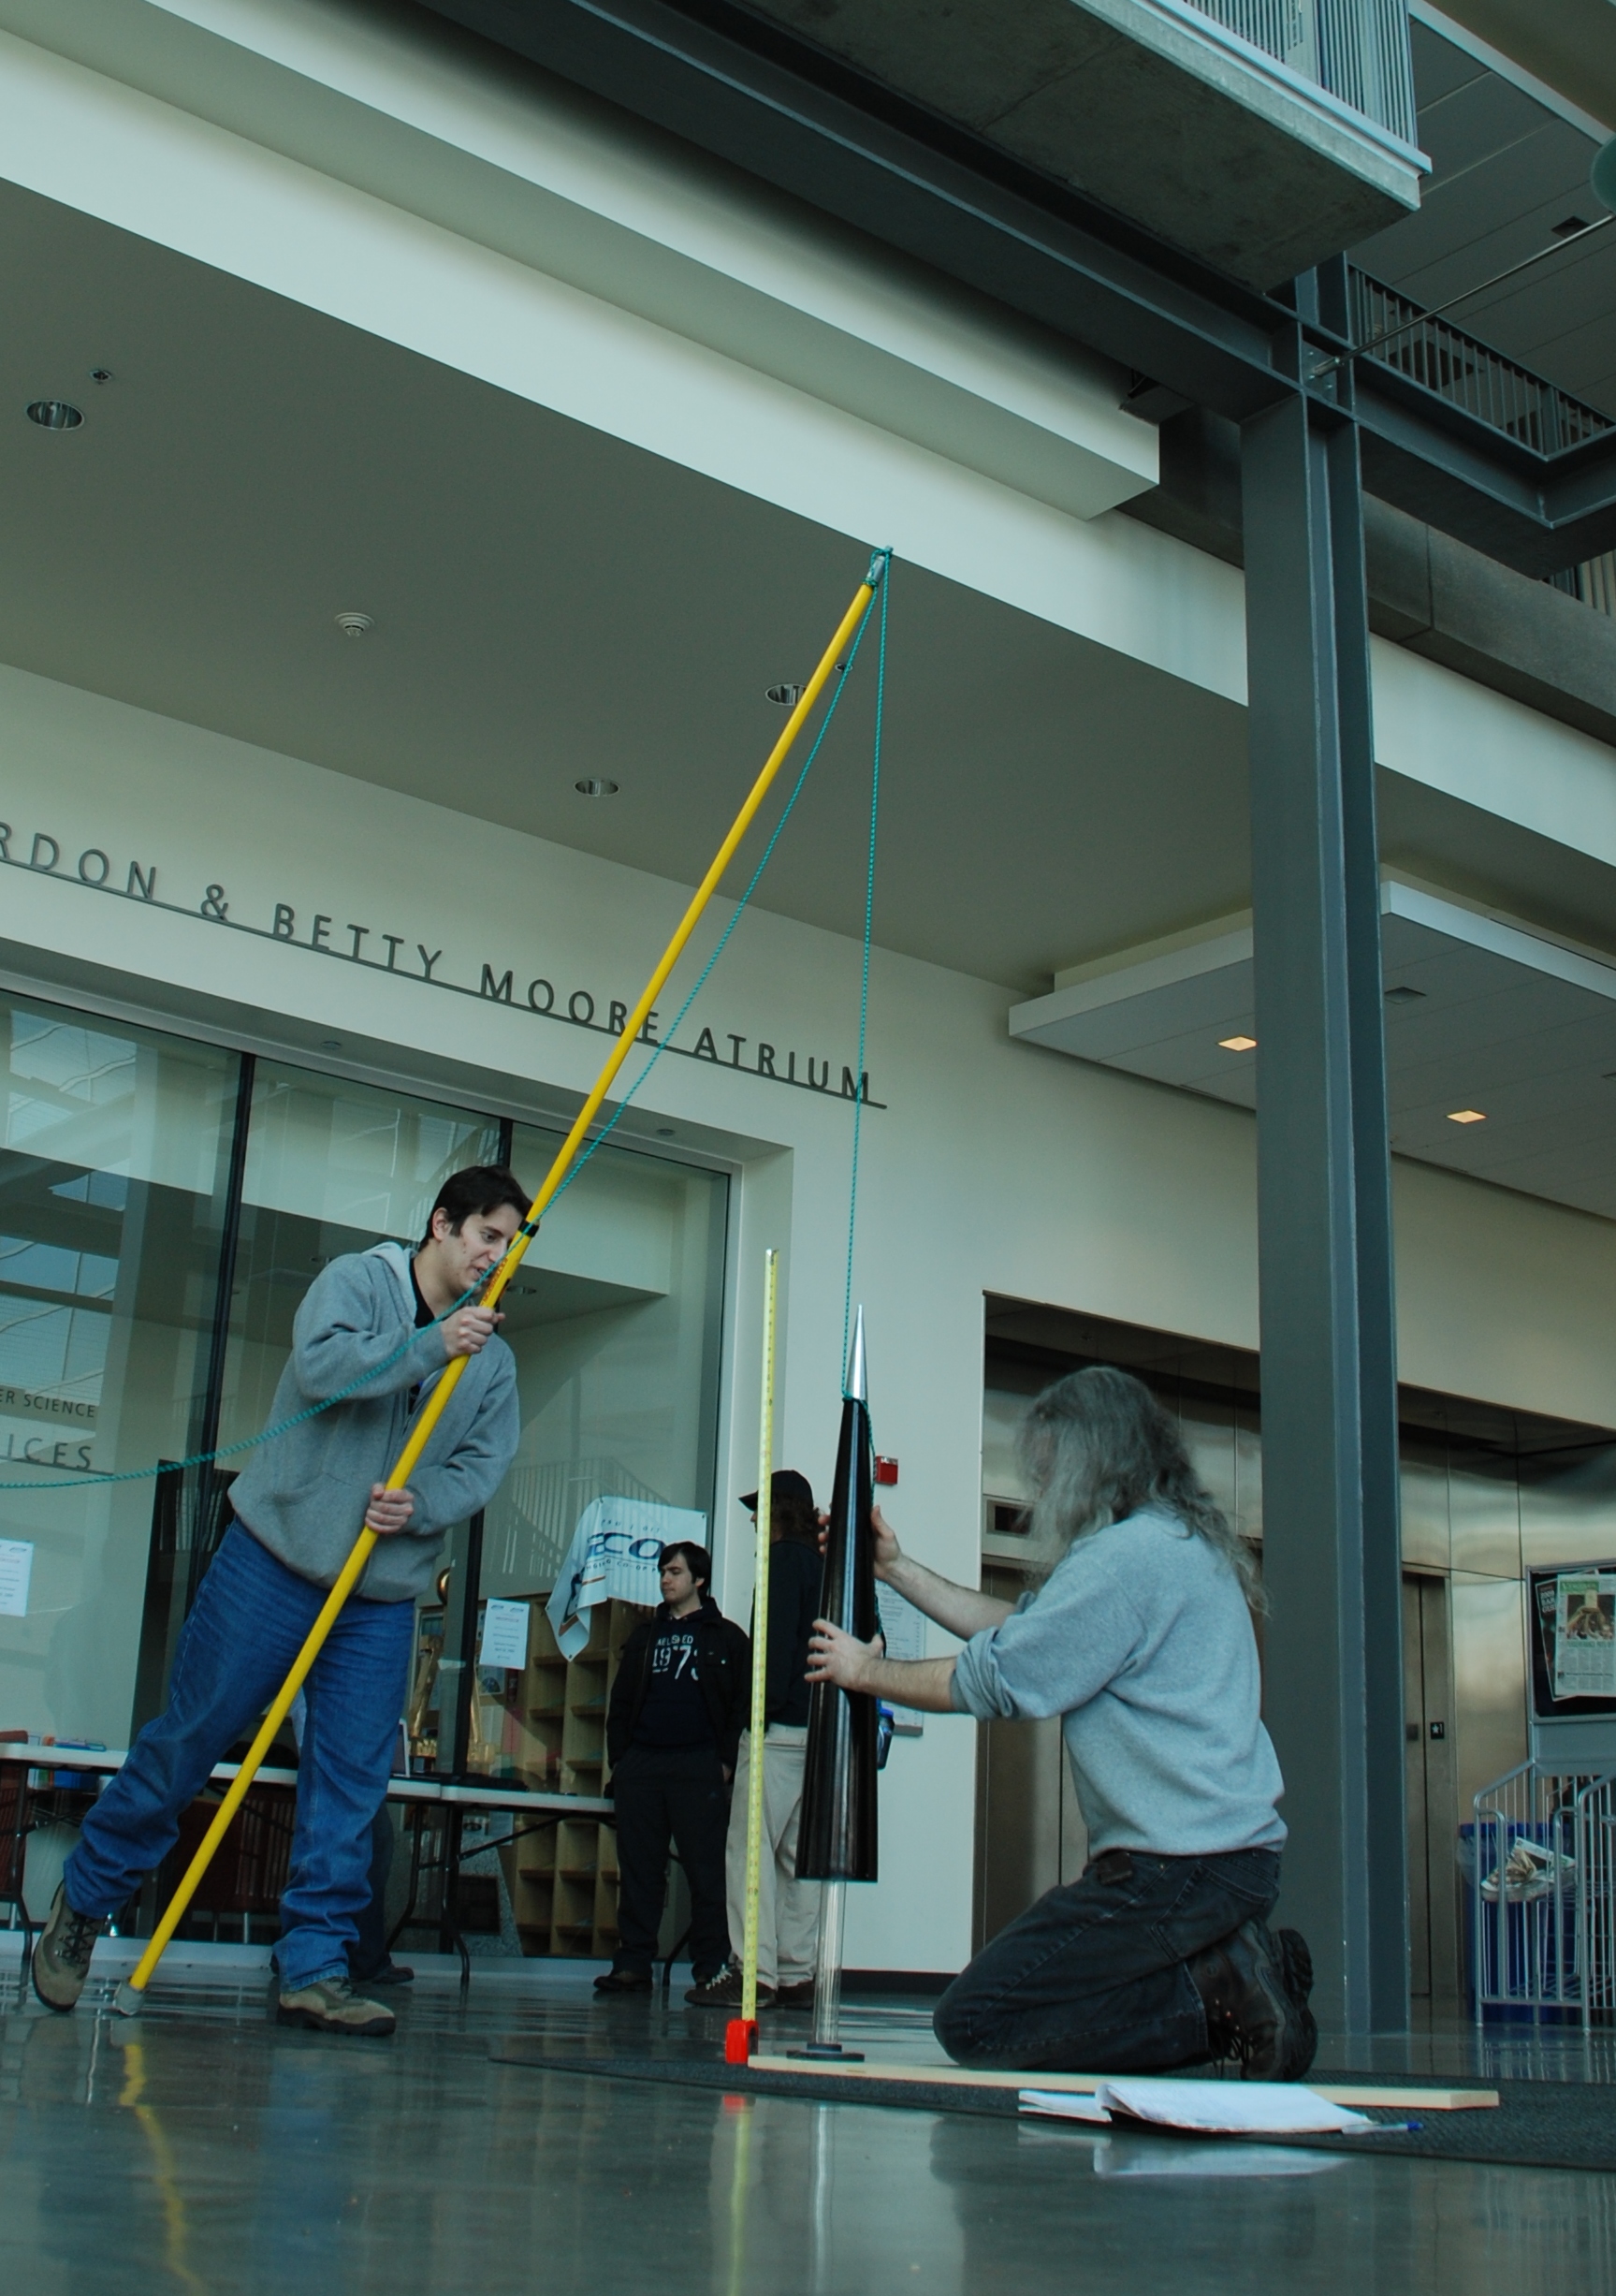
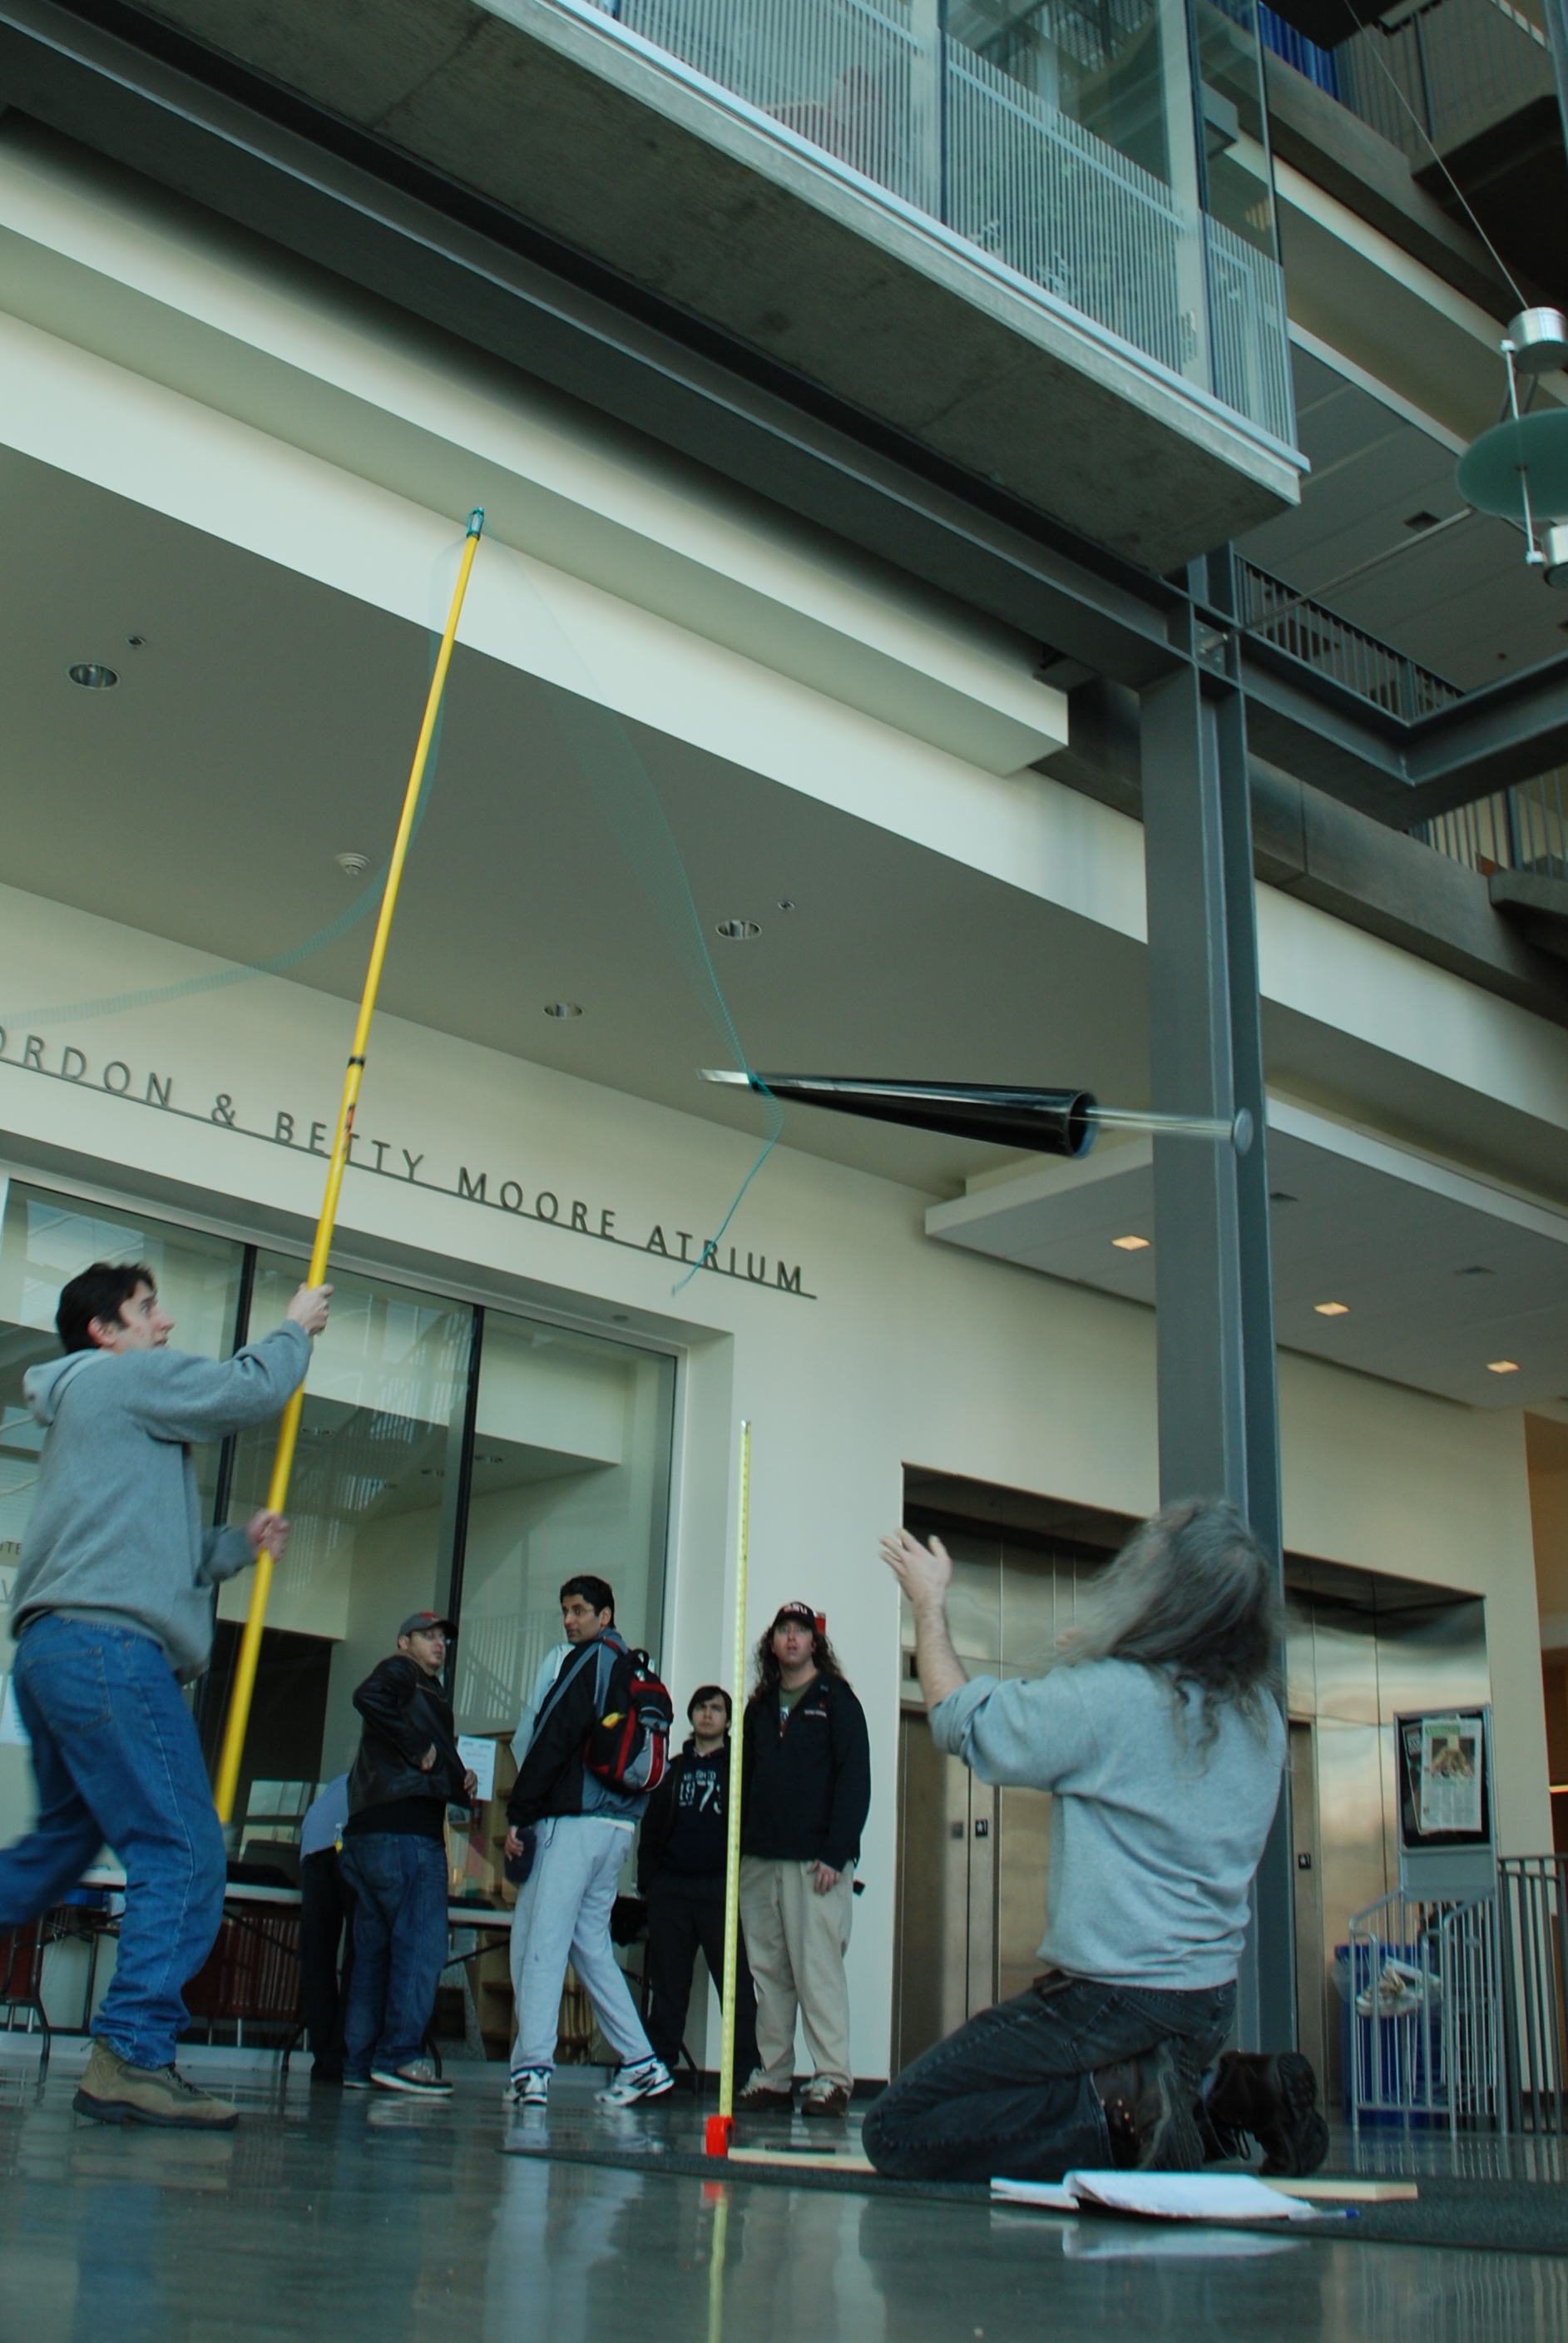
We wanted to make sure that the "nosecone deployment spring", better known as "a lot of surgical tubing" would really push the nosecone off the rocket when the NSR was fired and deploy the drogue parachute. We think it worked very well, and should have no problems deploying the drogue as long as the NSR really does separate.
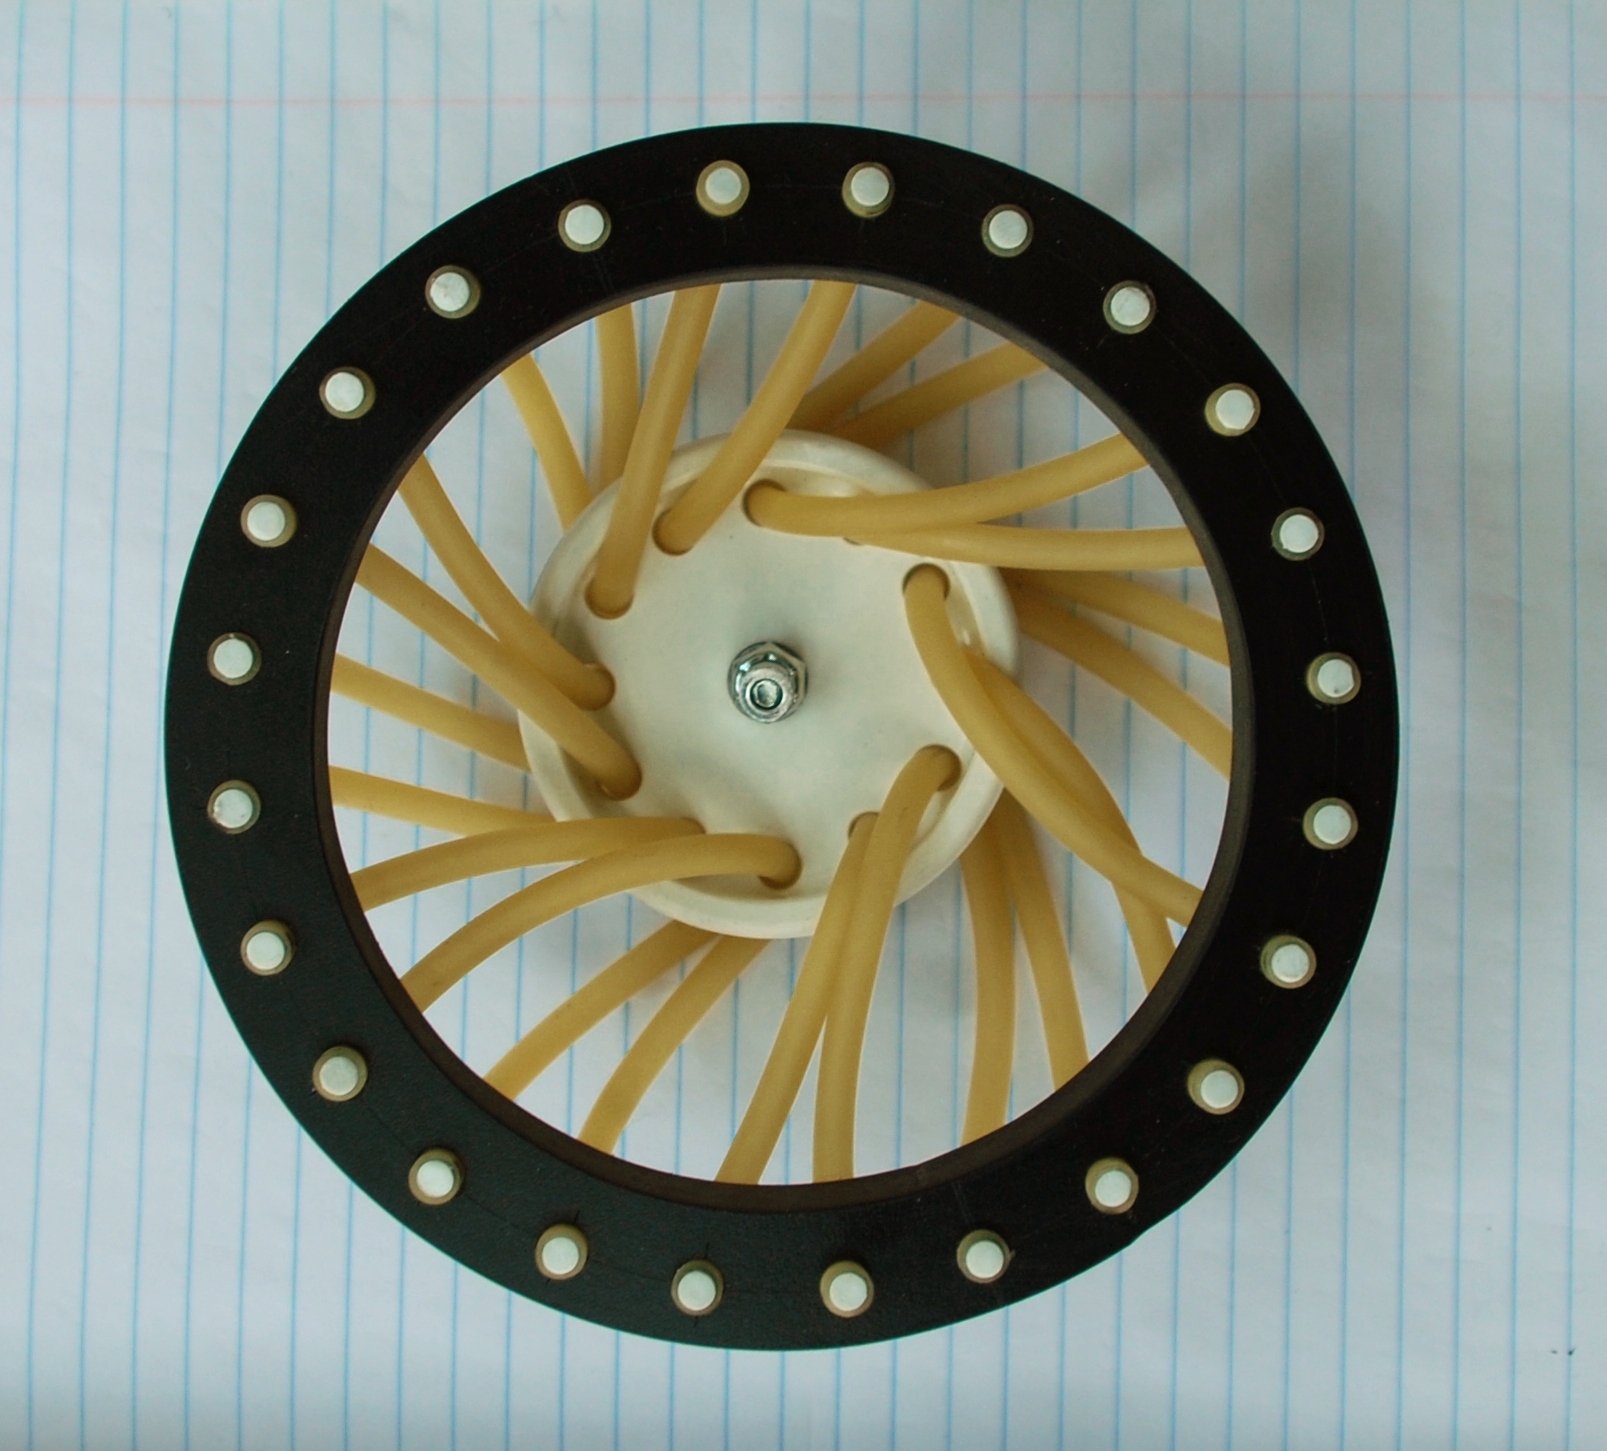
Drawing of the pusher rings pusher-v1.1.dxf and in PDF format pusher-v1.1.pdf.
The pusher uses 12 pieces of 3/16" diameter surgical rubber tubing, each piece is 7 inches long. With the current 16" long pusher tube the fully cocked travel is 11.25" and the fully cocked pusher force is 50 lbf. The resulting stored energy is about 30 J.
The spacing tube (transparent tube) is a cut piece of florescent tube protector. This has a tendency to get crushed at the top. We think because the top of the pusher sometimes doesn't sit quite level. Next time we'll tape it on, and also add some anti-crush foam at the ends.
Pictures
|
|
|
|
Movies
- First round of tests
- Second round of tests
Main deployment bag tests
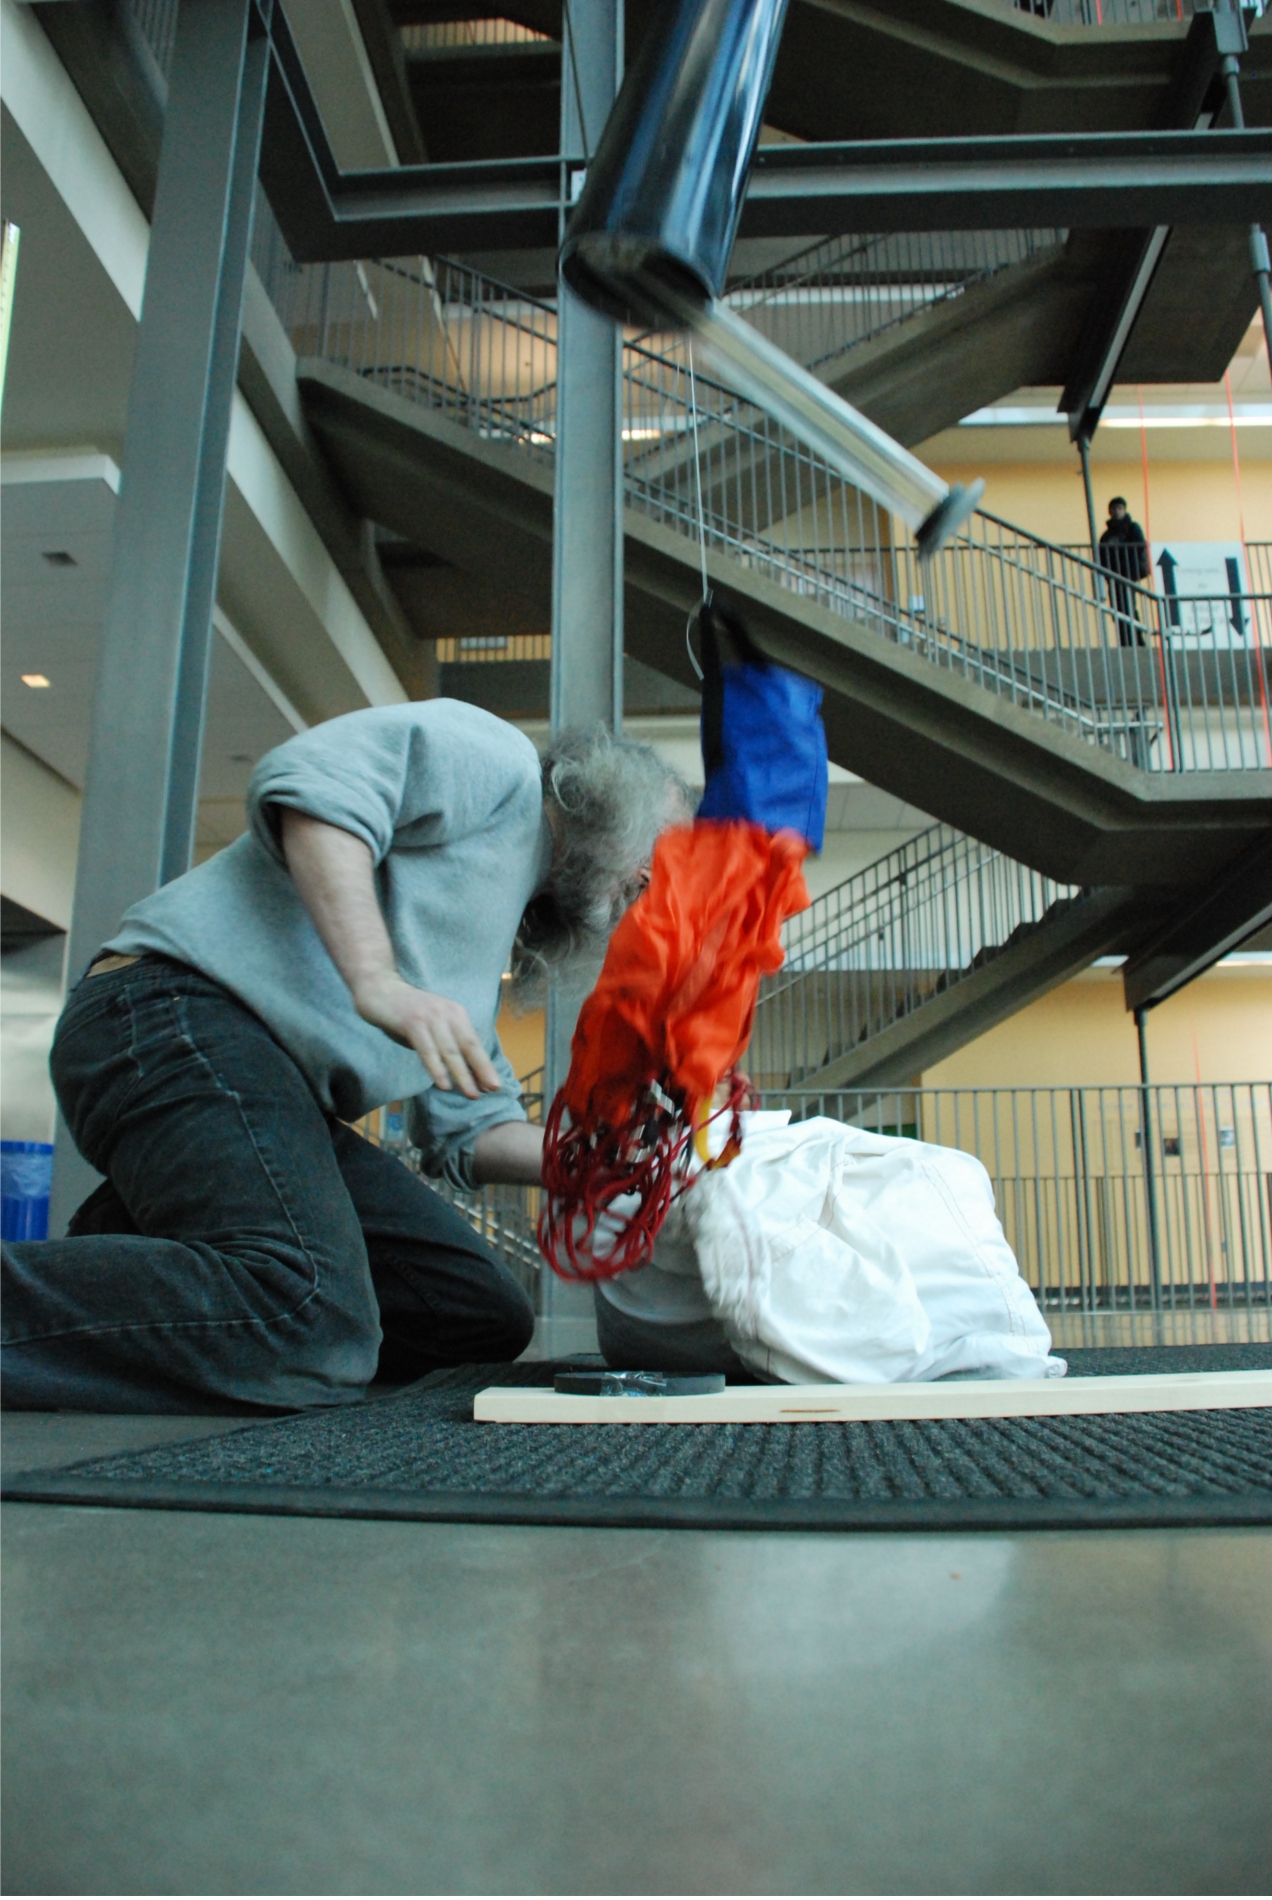
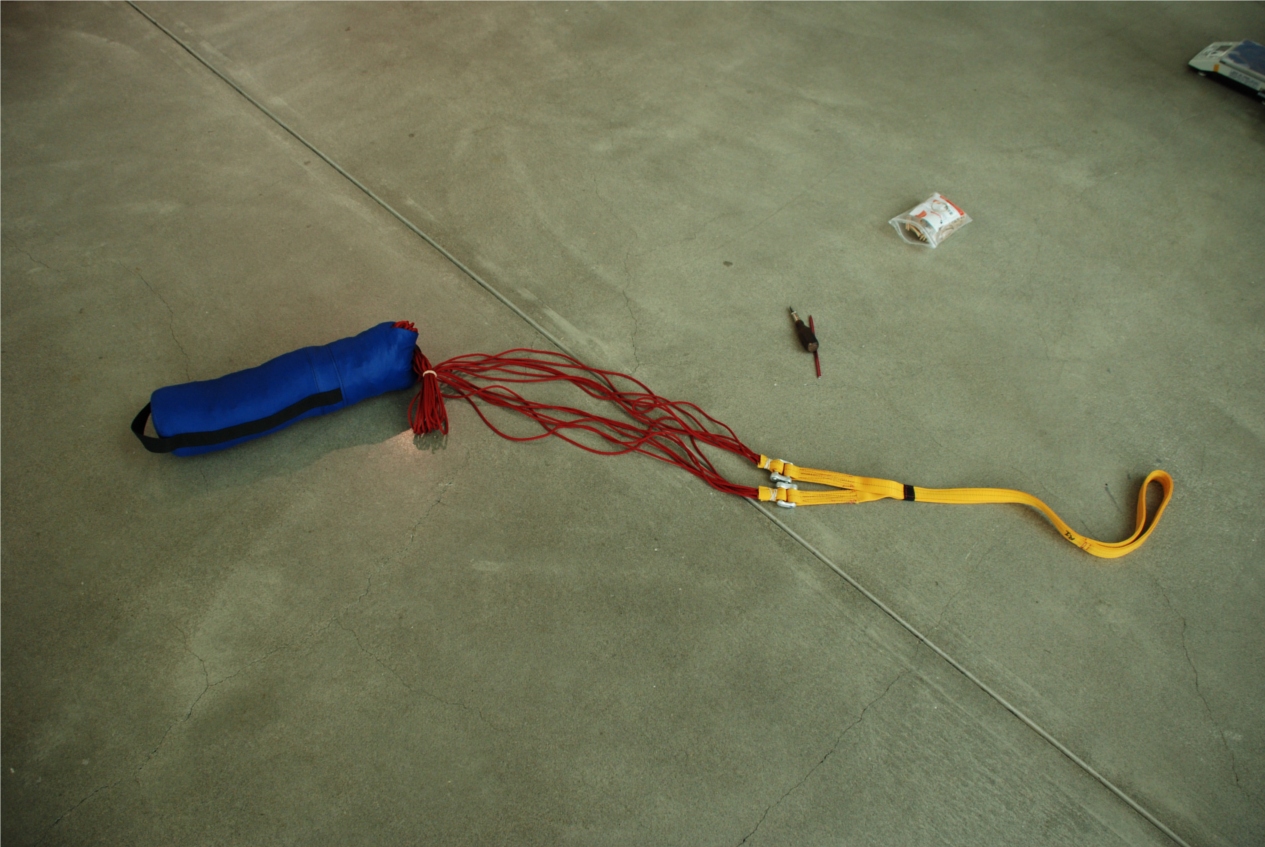
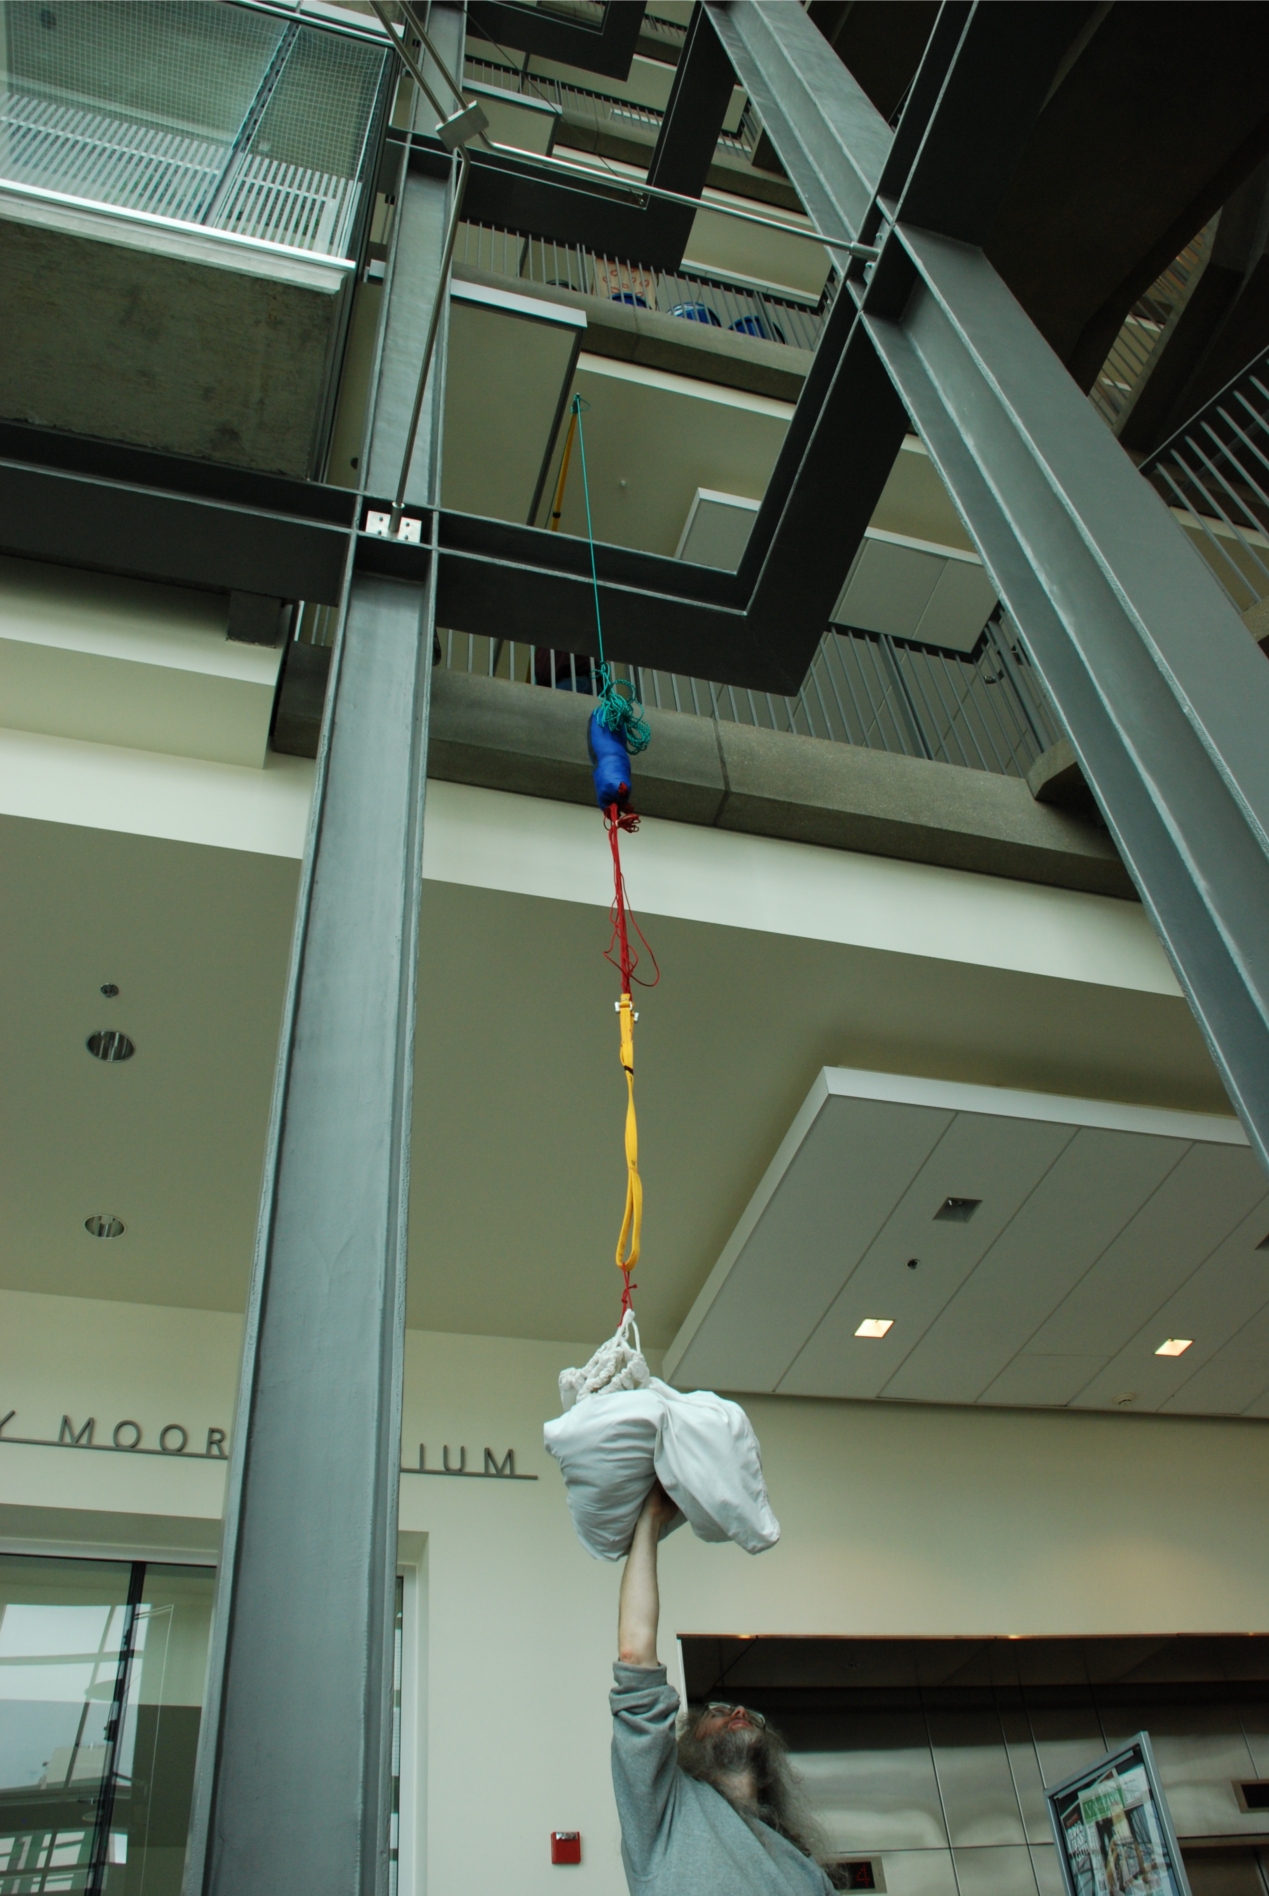
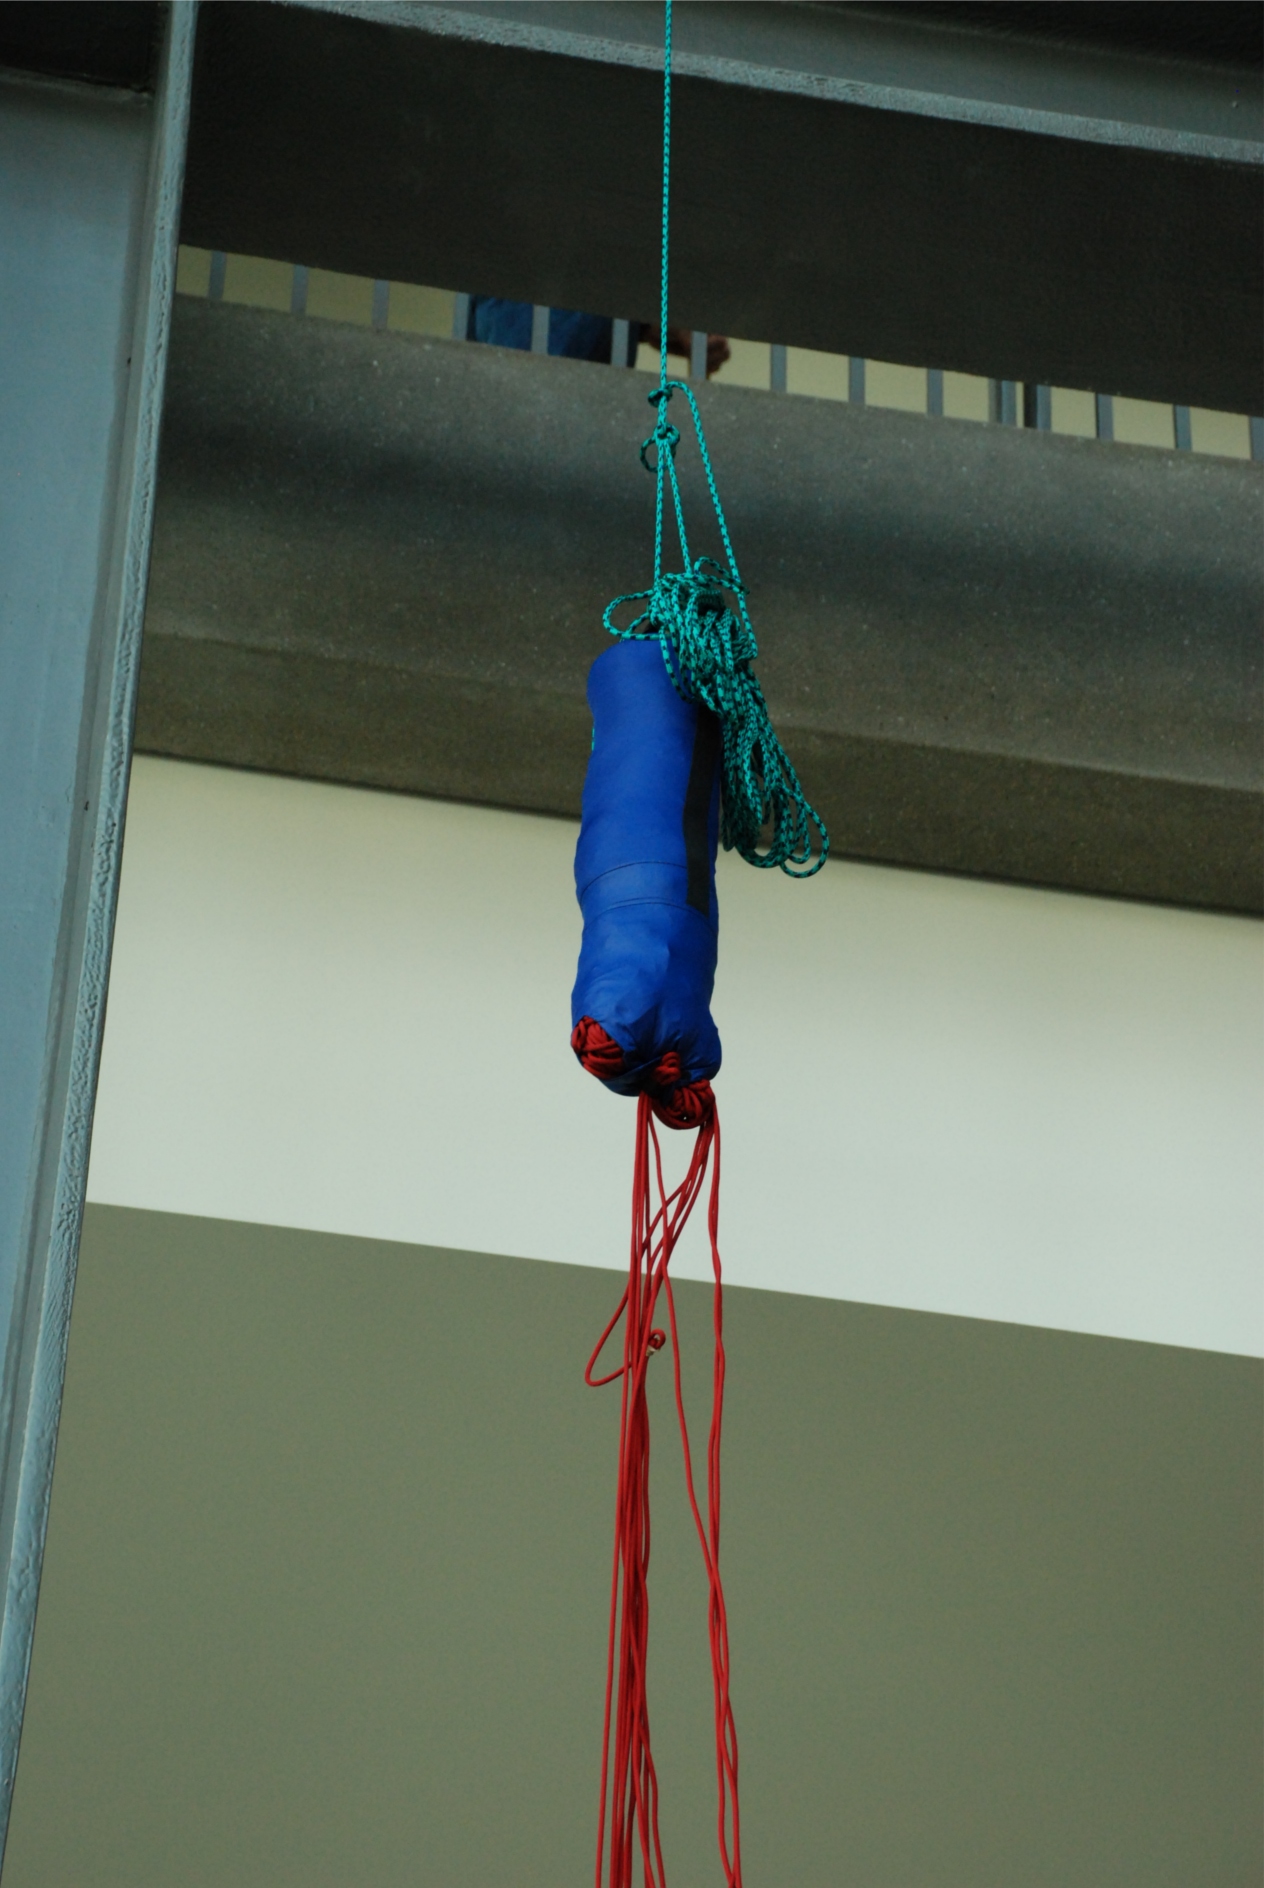
We hung a bag of towels (yes, towels) off of the main deployment bag in order to test how much force it took to 1) pull out the lines and 2) pull out the main chute.
The goal was to deploy both the lines and the main 'chute with 10 lbf of force. This is intended to be a conservative figure for our nose-only recovery test with the test sled ballasted out to 20 pounds.
We were successful in deploying with only 10 lbf, but some care was required to make sure the lines slid easily in the loops. We only threaded 6 lines in the loop closing the outer flap. (The one holding the lines.) And packed only threaded 4 lines though the loop on the inner closure. To compensate for the fact that the lines may bunch somewhat unevenly during packing we added an extra rubber-banded bight to the lines that went through the loops to insure that at least some force would be on them before the rest of the lines tightened.
Pictures
|
|
||||
|
|
Movies
- Main parachute bag test 1 - successful line deployment
- Main parachute bag test 2 - successful line deployment
- Main parachute bag test 3 - successful main chute deployment
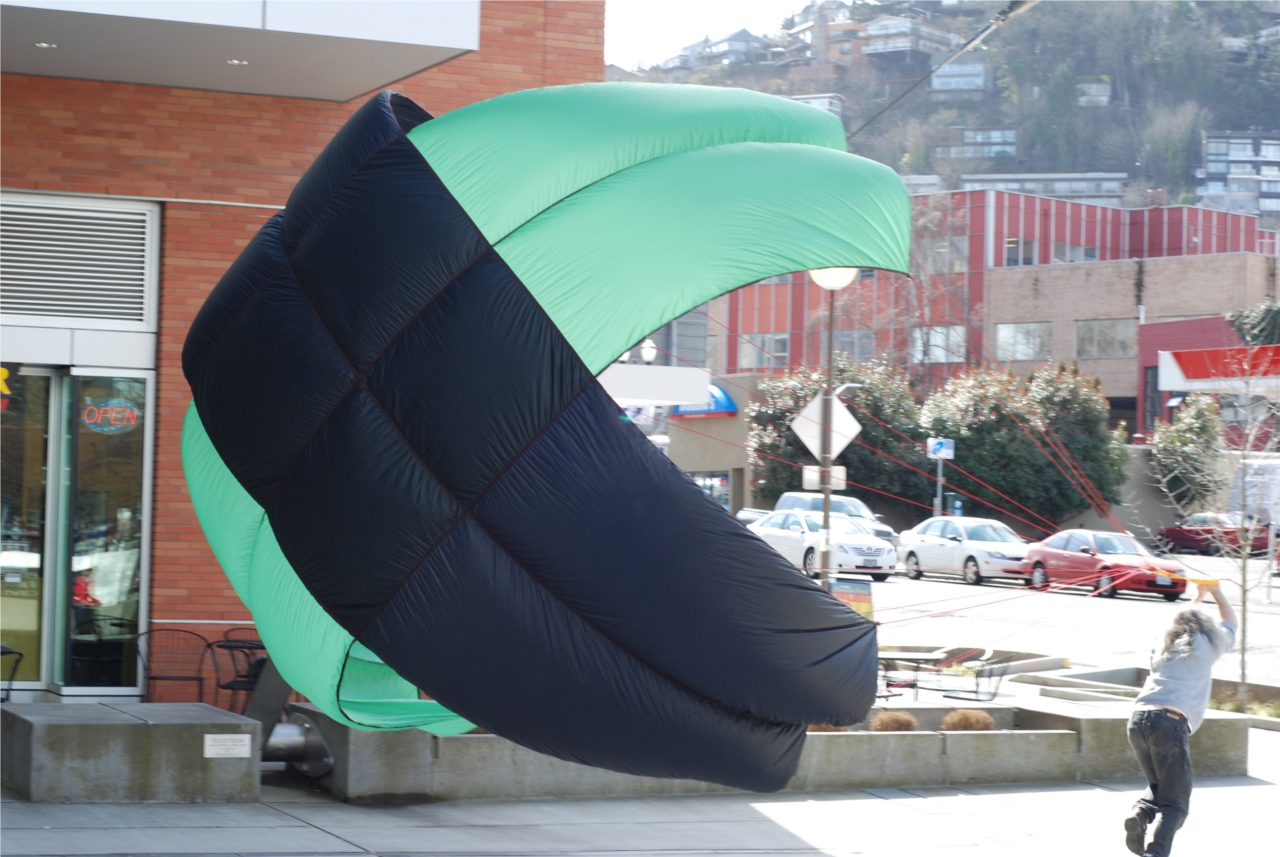
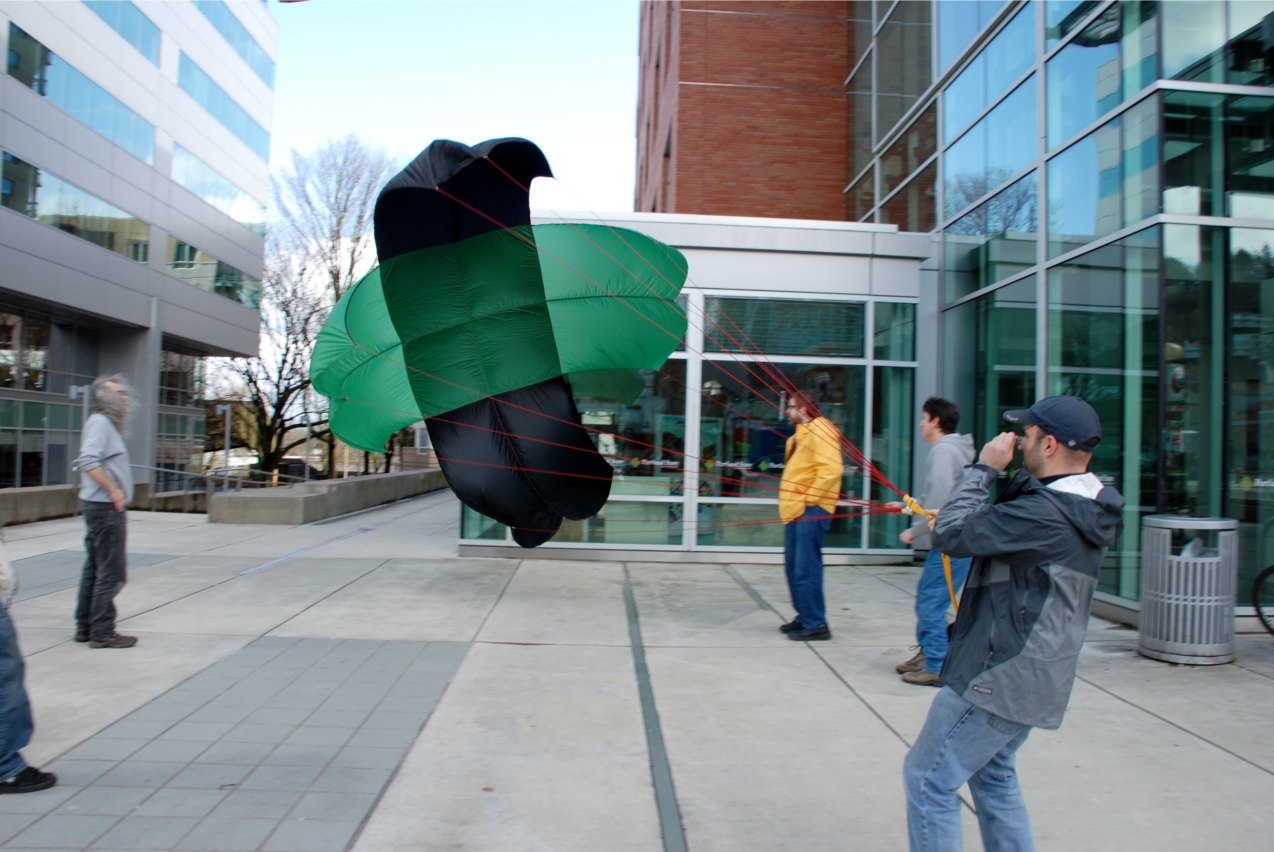
Testing the main parachute outside
We cleaned up then headed outside to test the main chute. It worked well, and inflated even with a breeze from between the buildings. Unfortunately, Andrew busticated the parachute: a strong gust of wind inflated the chute, and it rubbed against a few sharp edges of the glass and metal EB, which made three ~ 3 inch rips. Ugh. Fortunately, Margaret offered to sew patches on them this week, in time for a final deployment test next weekend.
Pictures
|
|
For your amusement
There was much waiting as we packed parachutes and whatnot. We couldn't help ourselves, we had a high speed camera: