Fill this in with more pictures and commentary!
Video of first successful nosecone separation ring test that had nosecone on top of it.
2009.01.08
Tried nosecone separation ring in vacuum chamber.
Pumped down to full mechanical vacuum (zero on a 0-30 inches of mercury mechanical vacuum gage).
Held vacuum for more than one hour, then ignited powder via 12V @ 3A linear power supply filtered by
a 50,000 μF electrolytic capacitor.
1200 frame-per-second video of vacuum test:
Wide angle shot of the same test at 30 frames per second:
- ?SepVacTst-wide-2009.01.08.avi
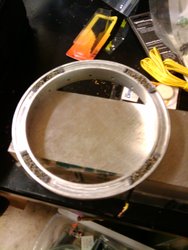
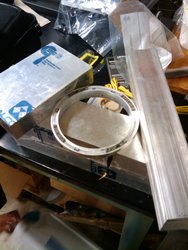
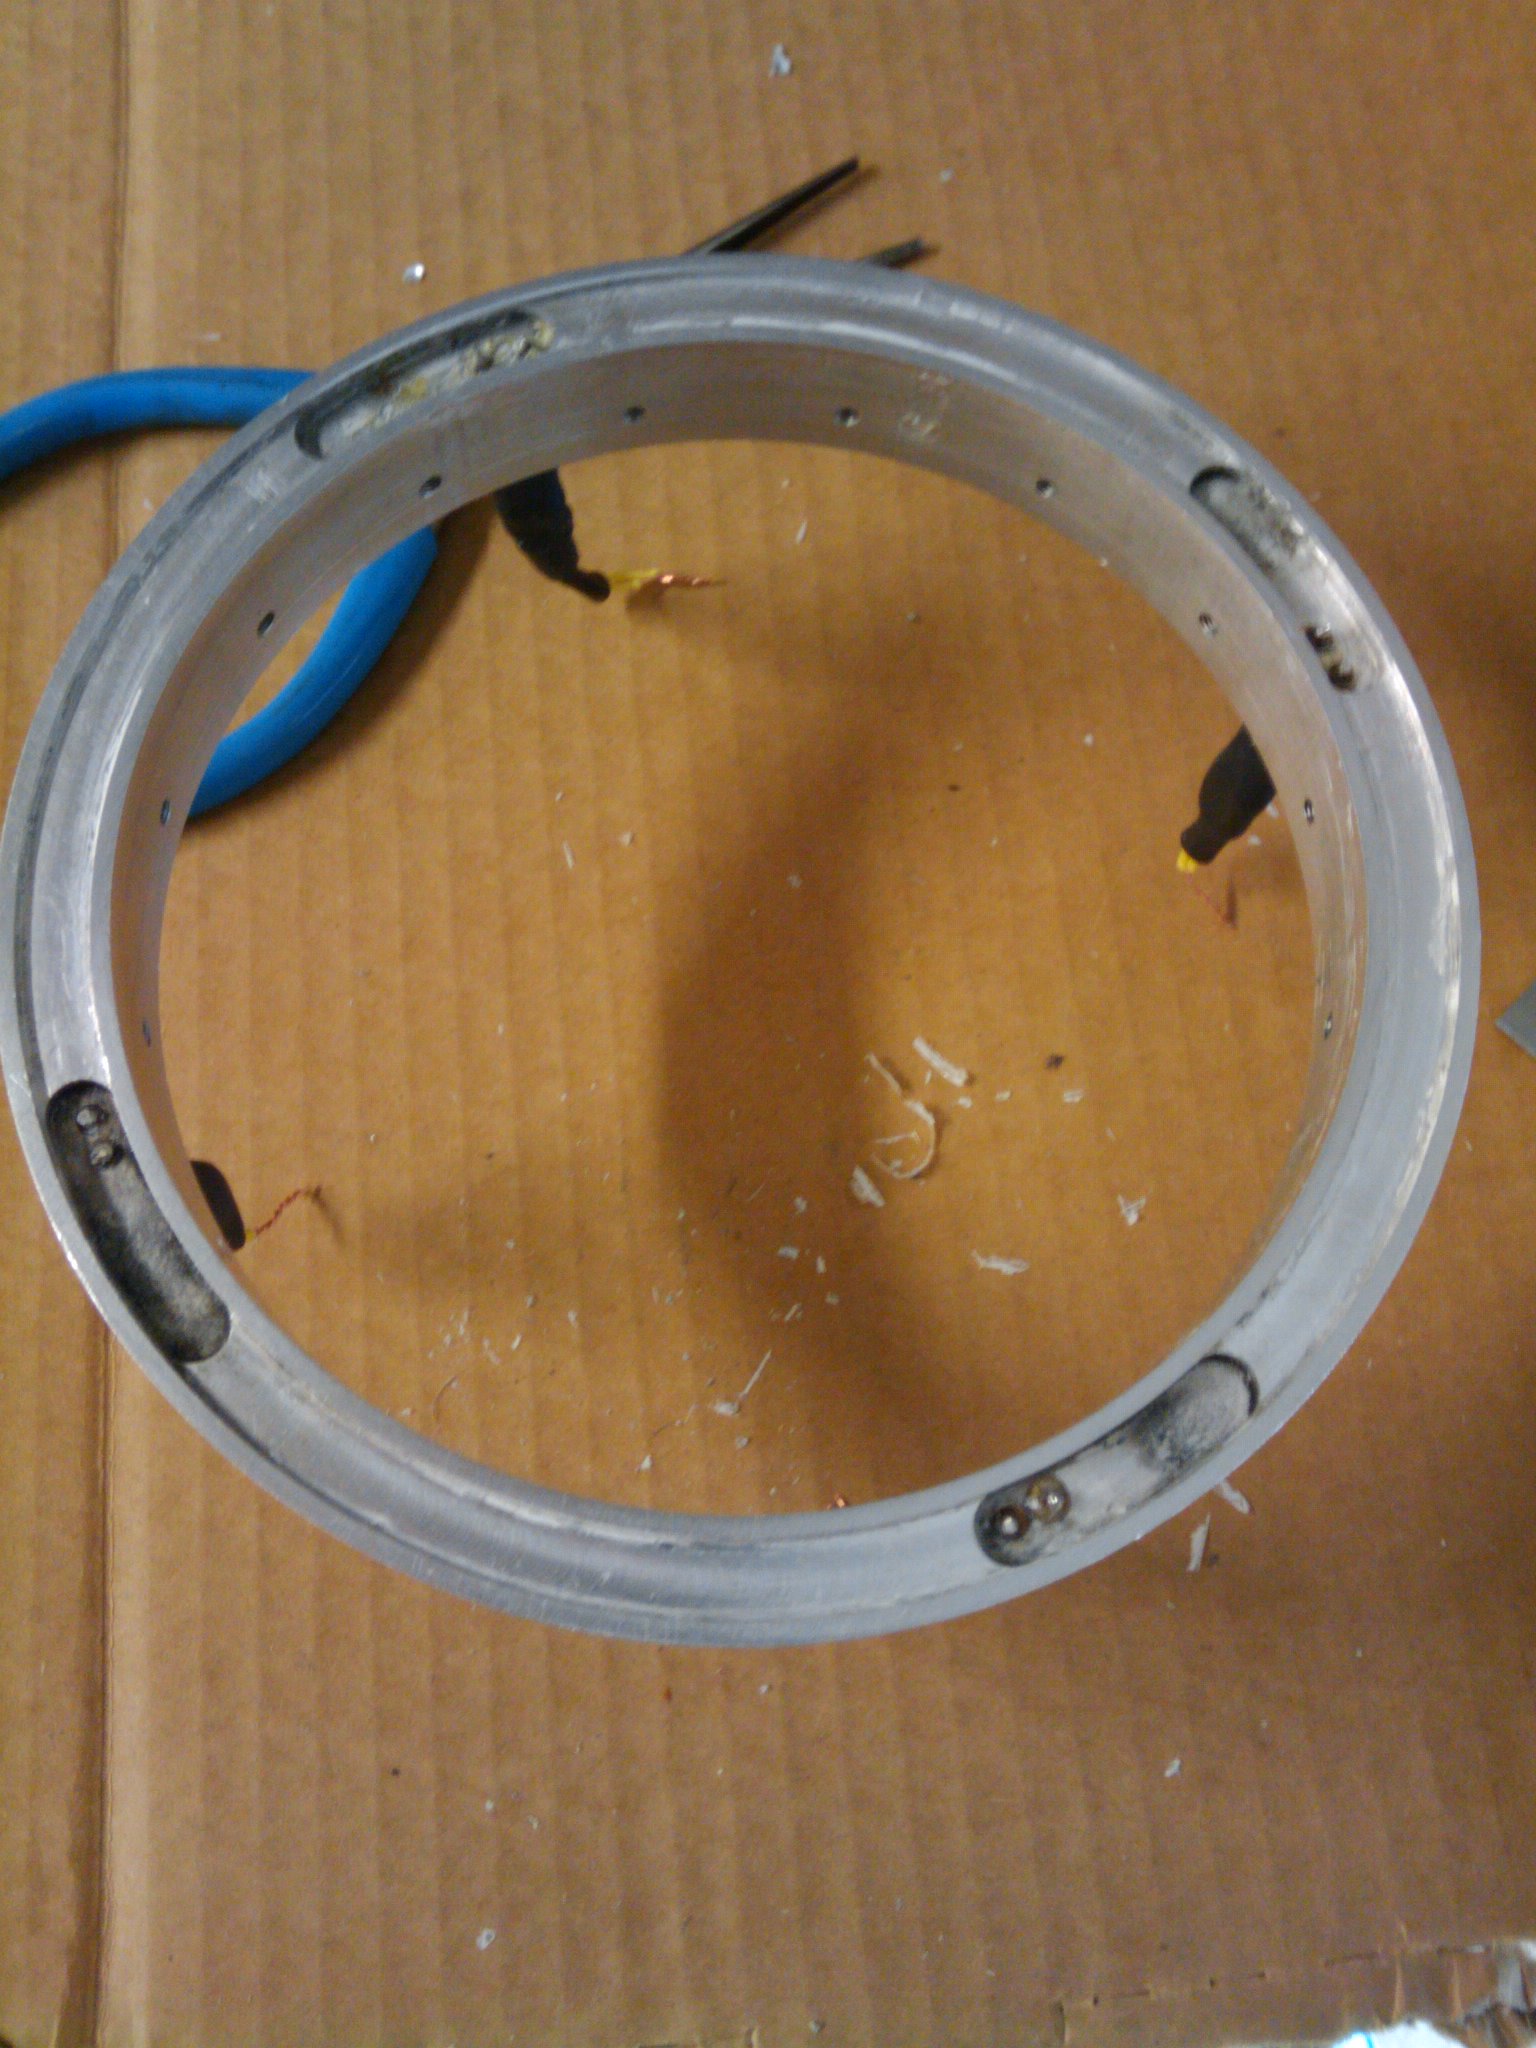
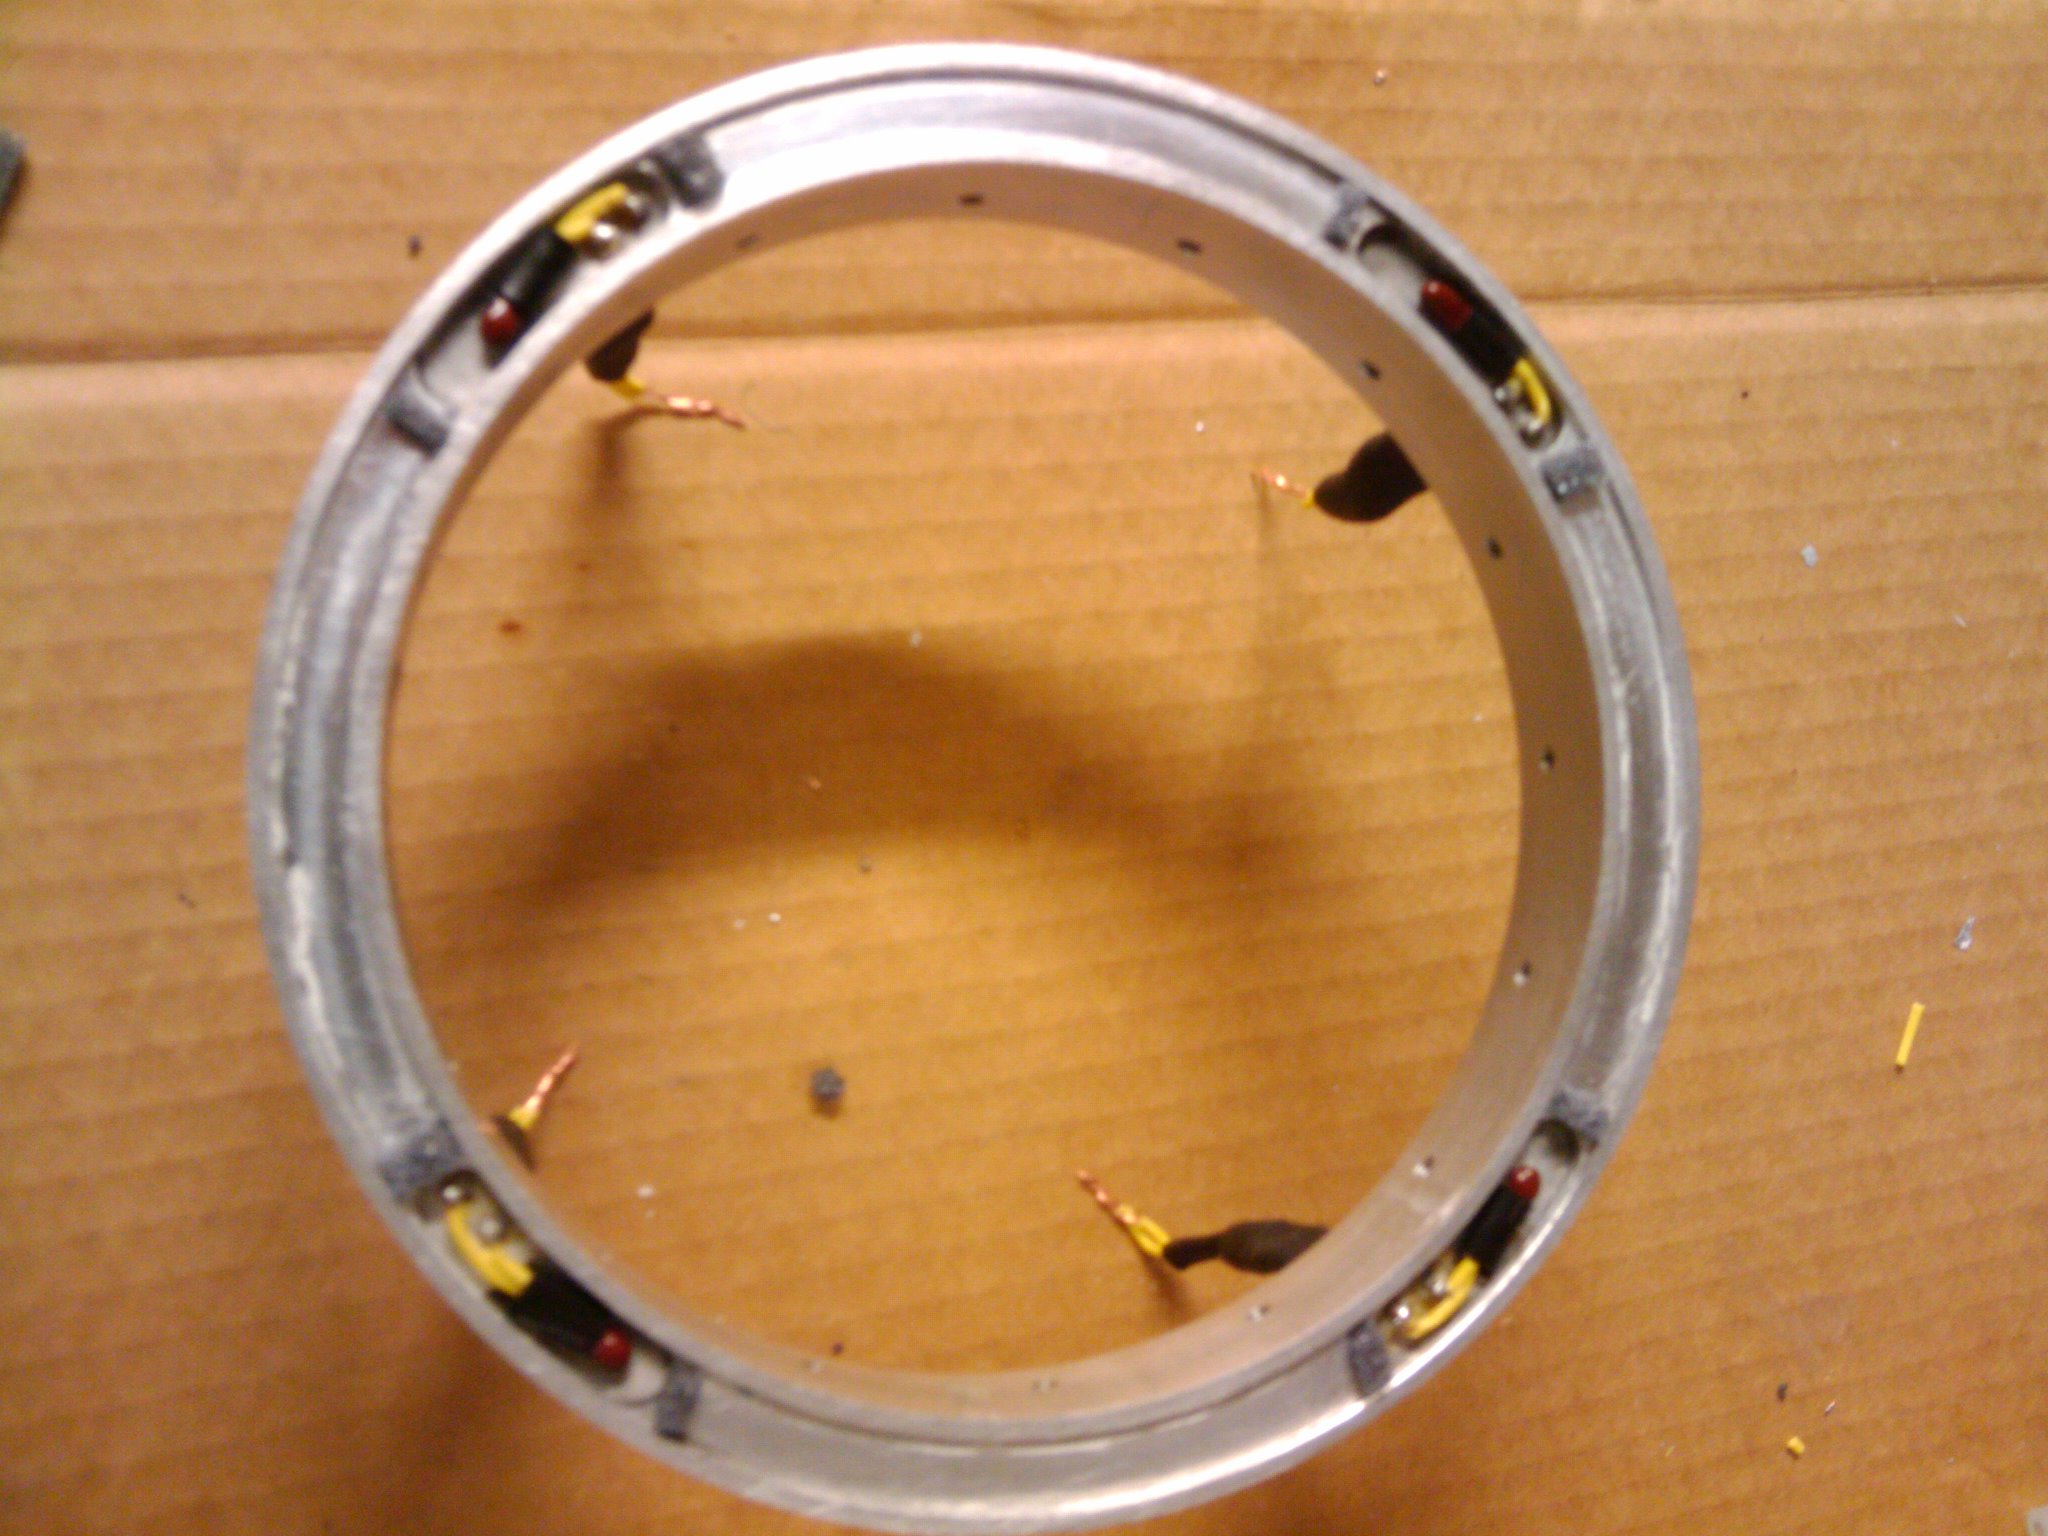
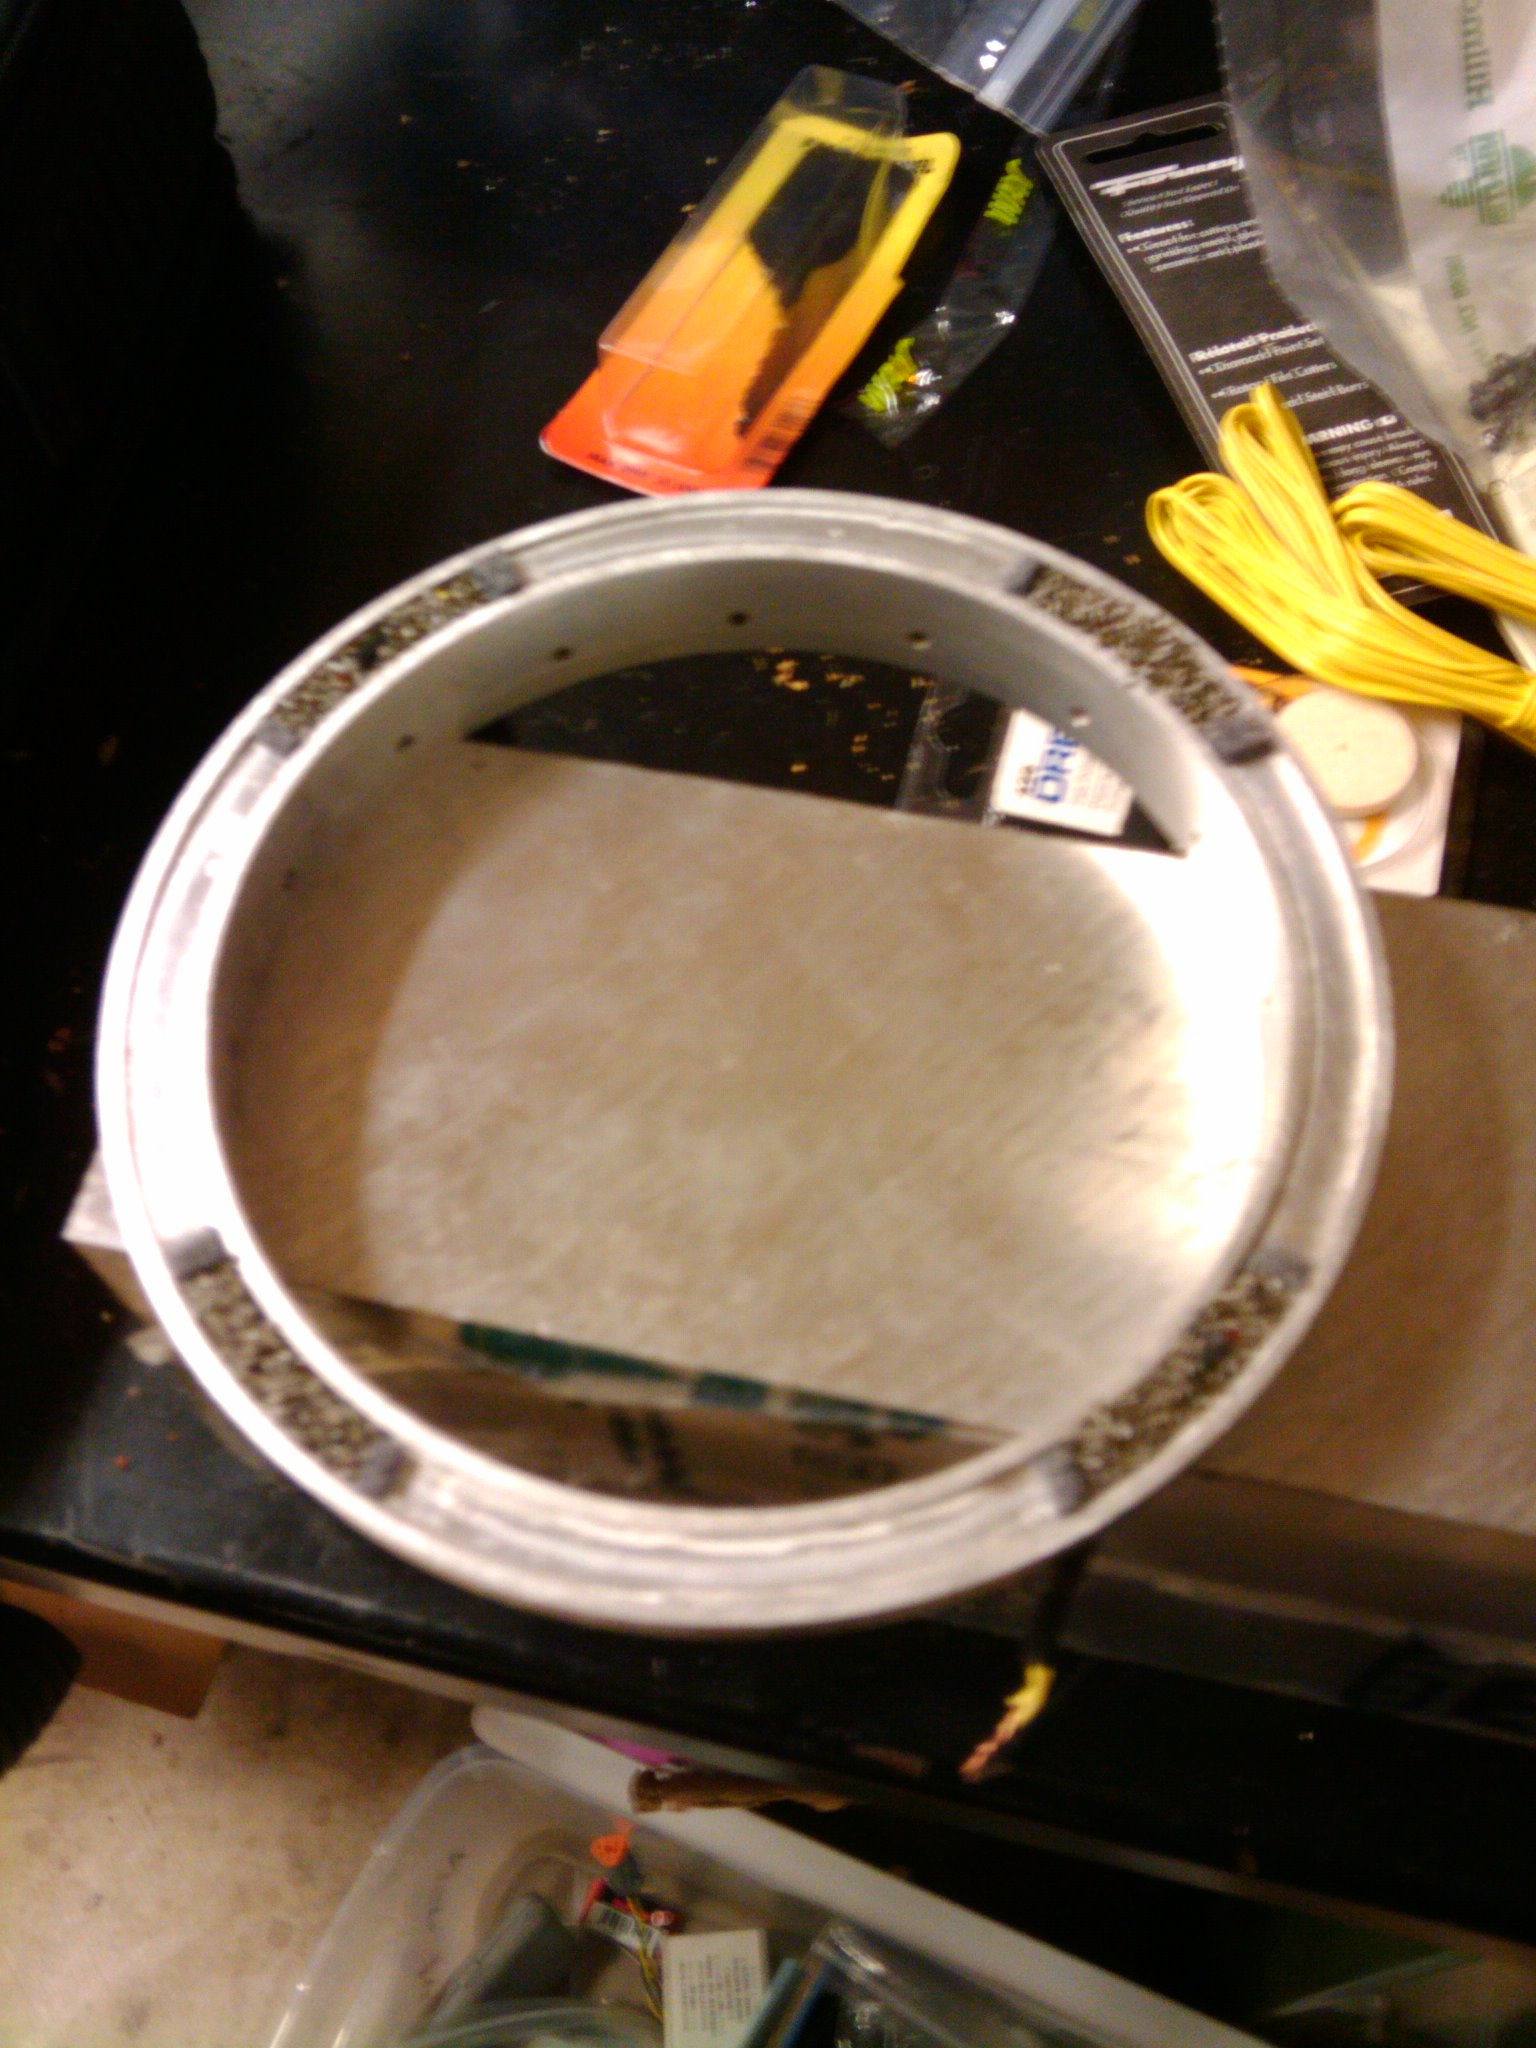
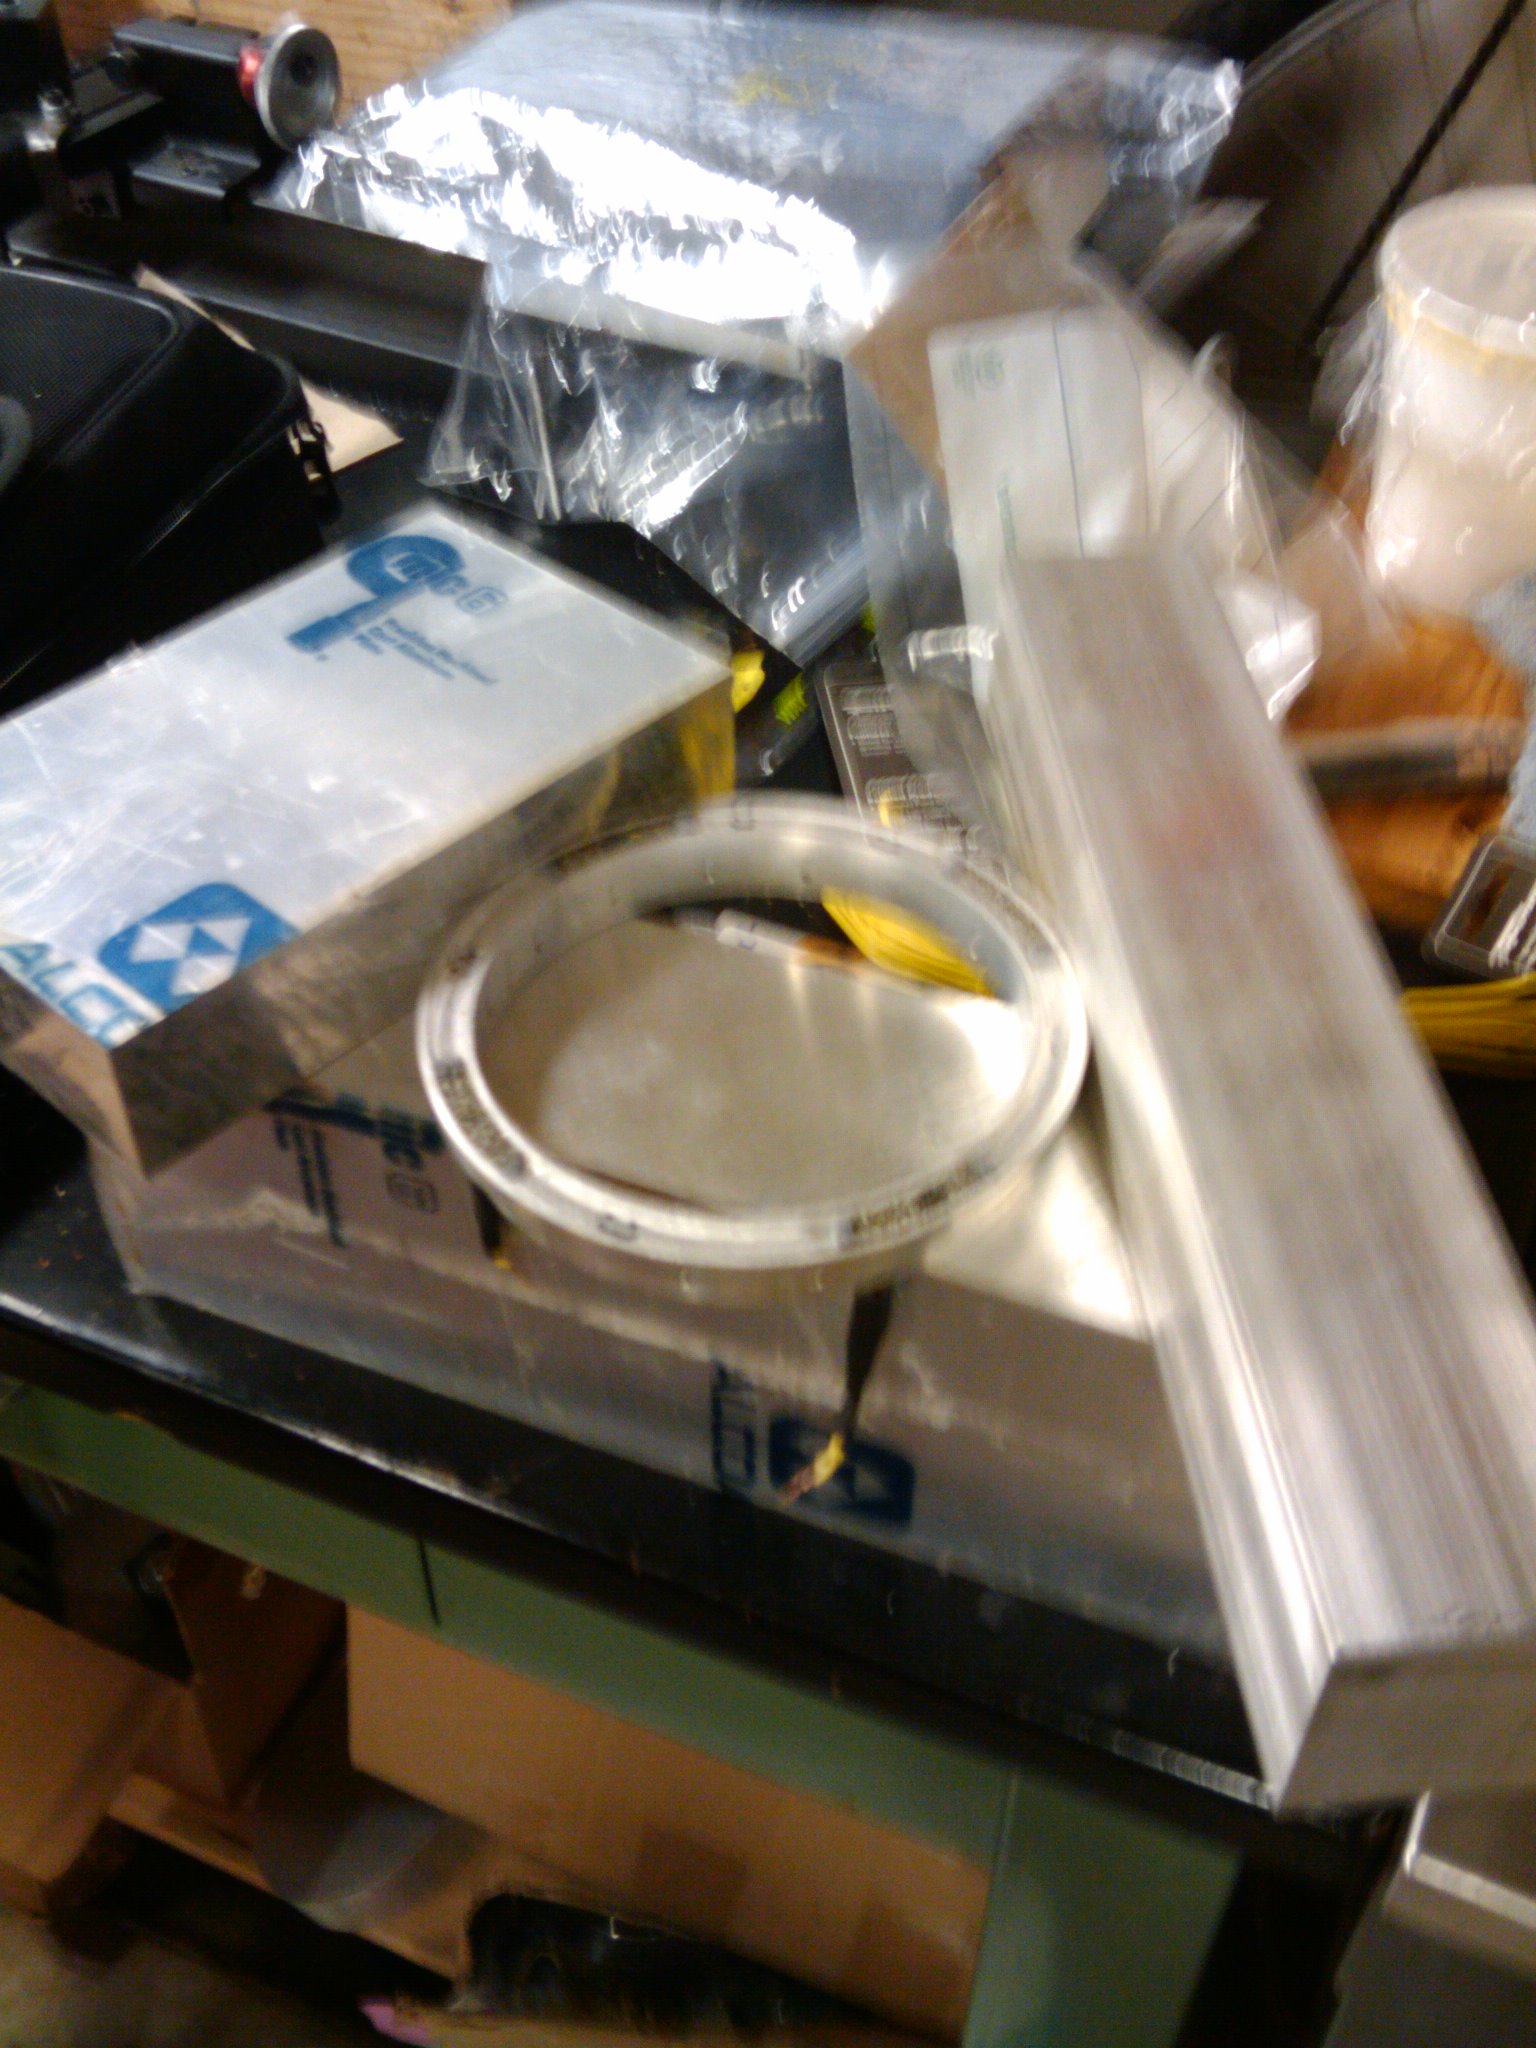
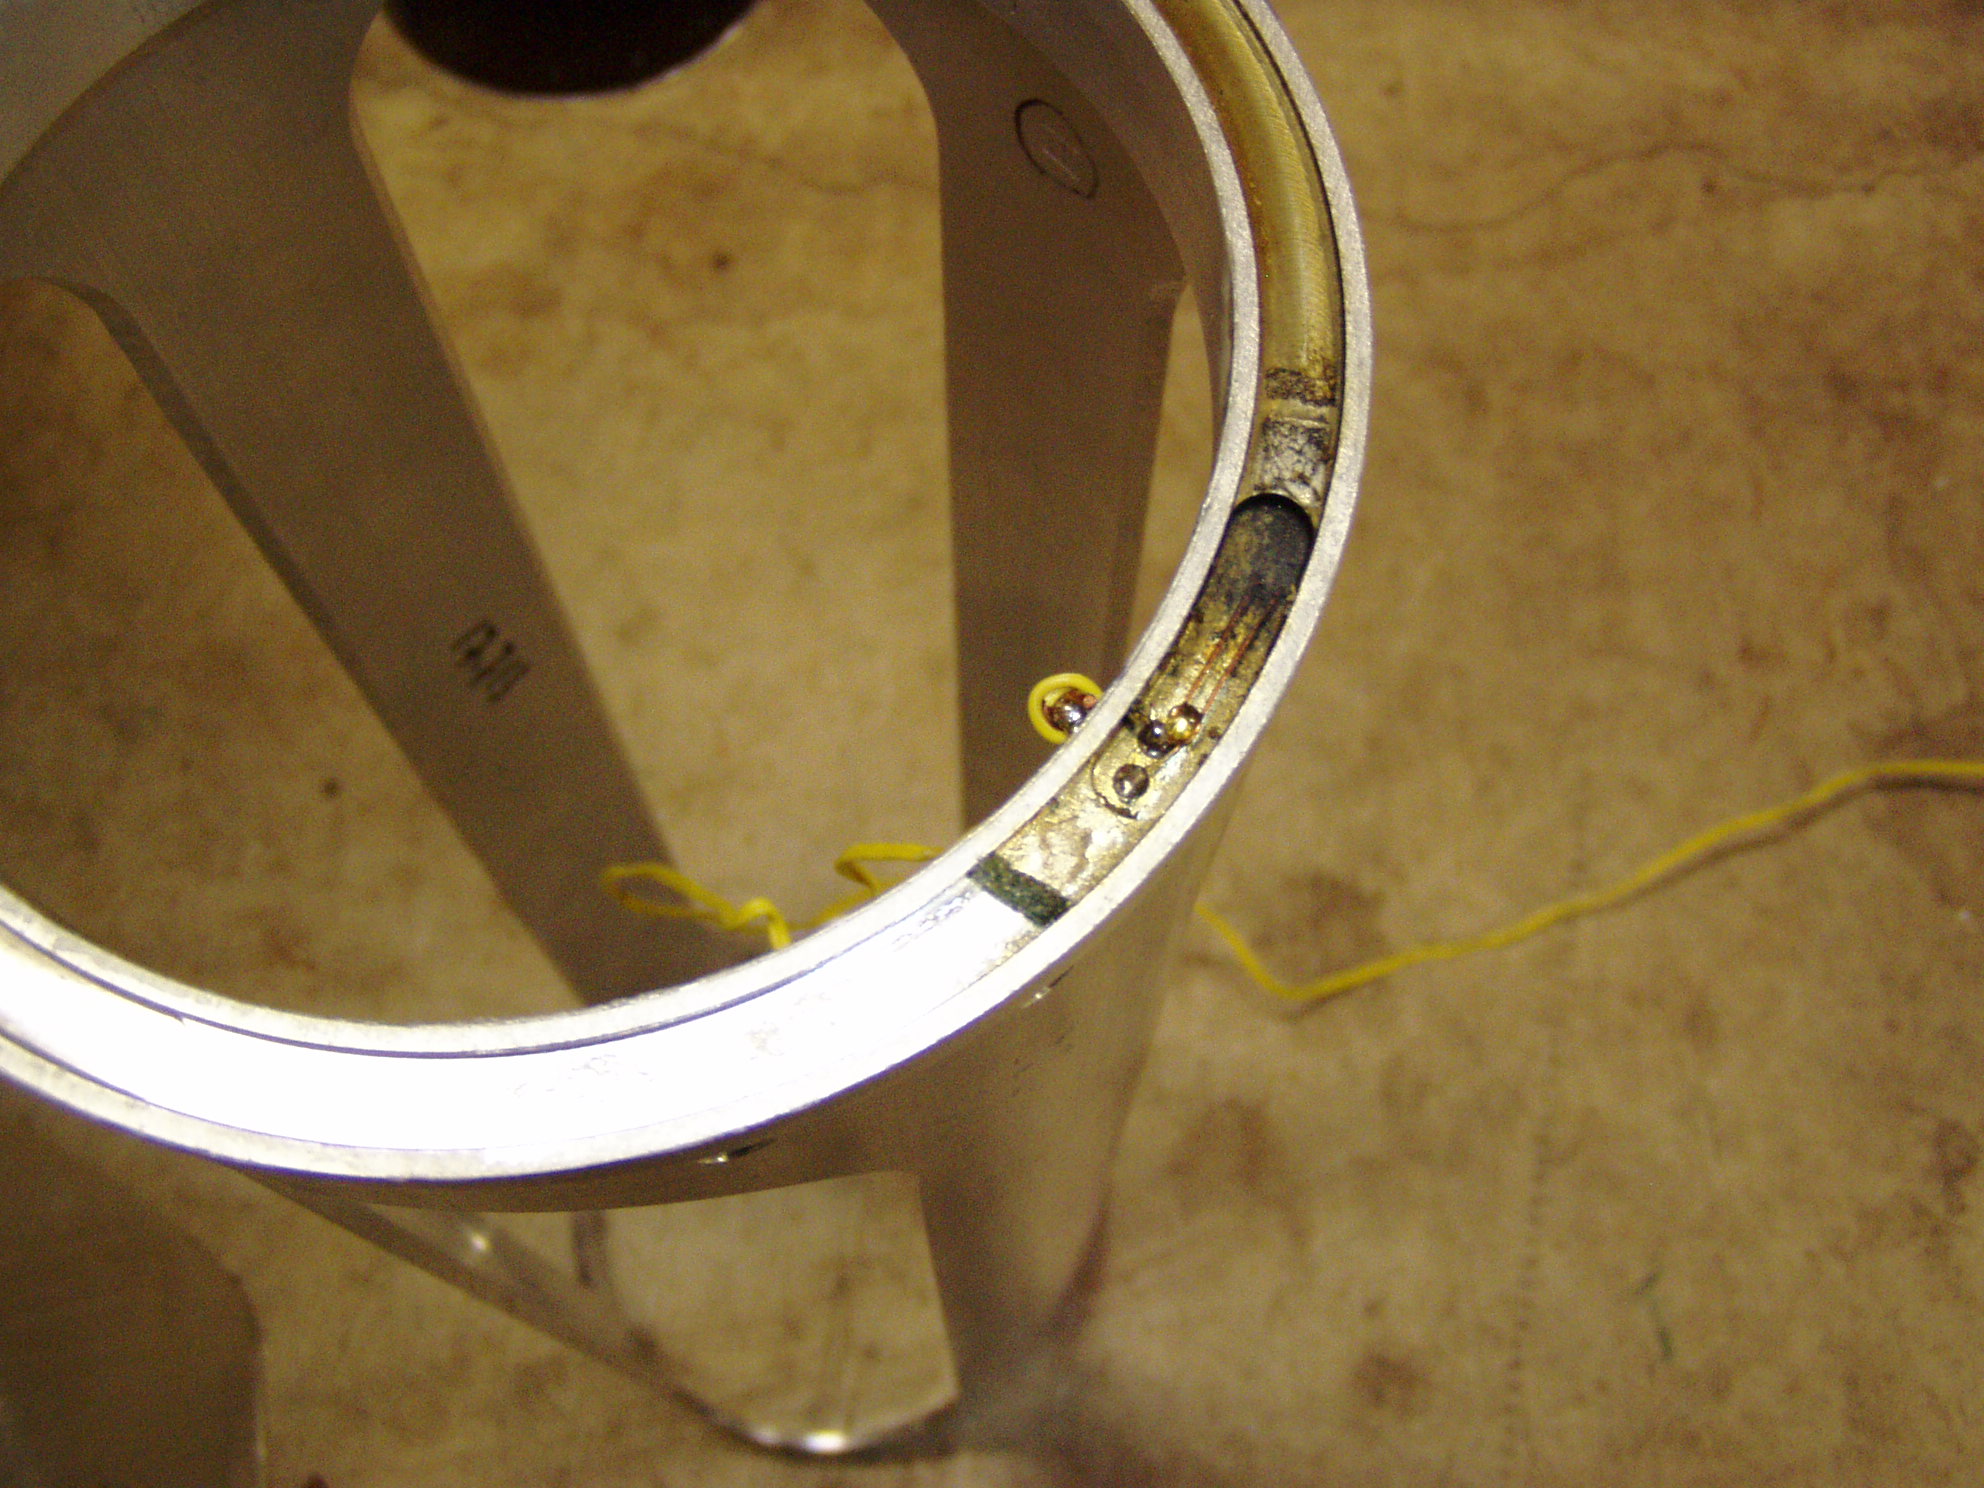
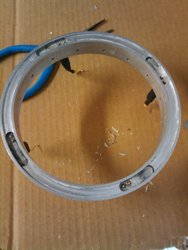
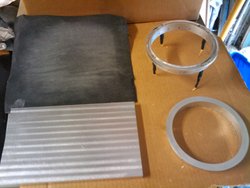
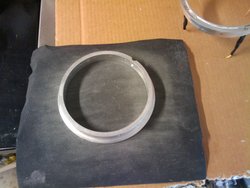
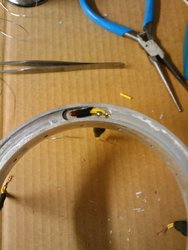
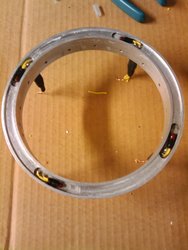
Pictures of nosecone separation ring:
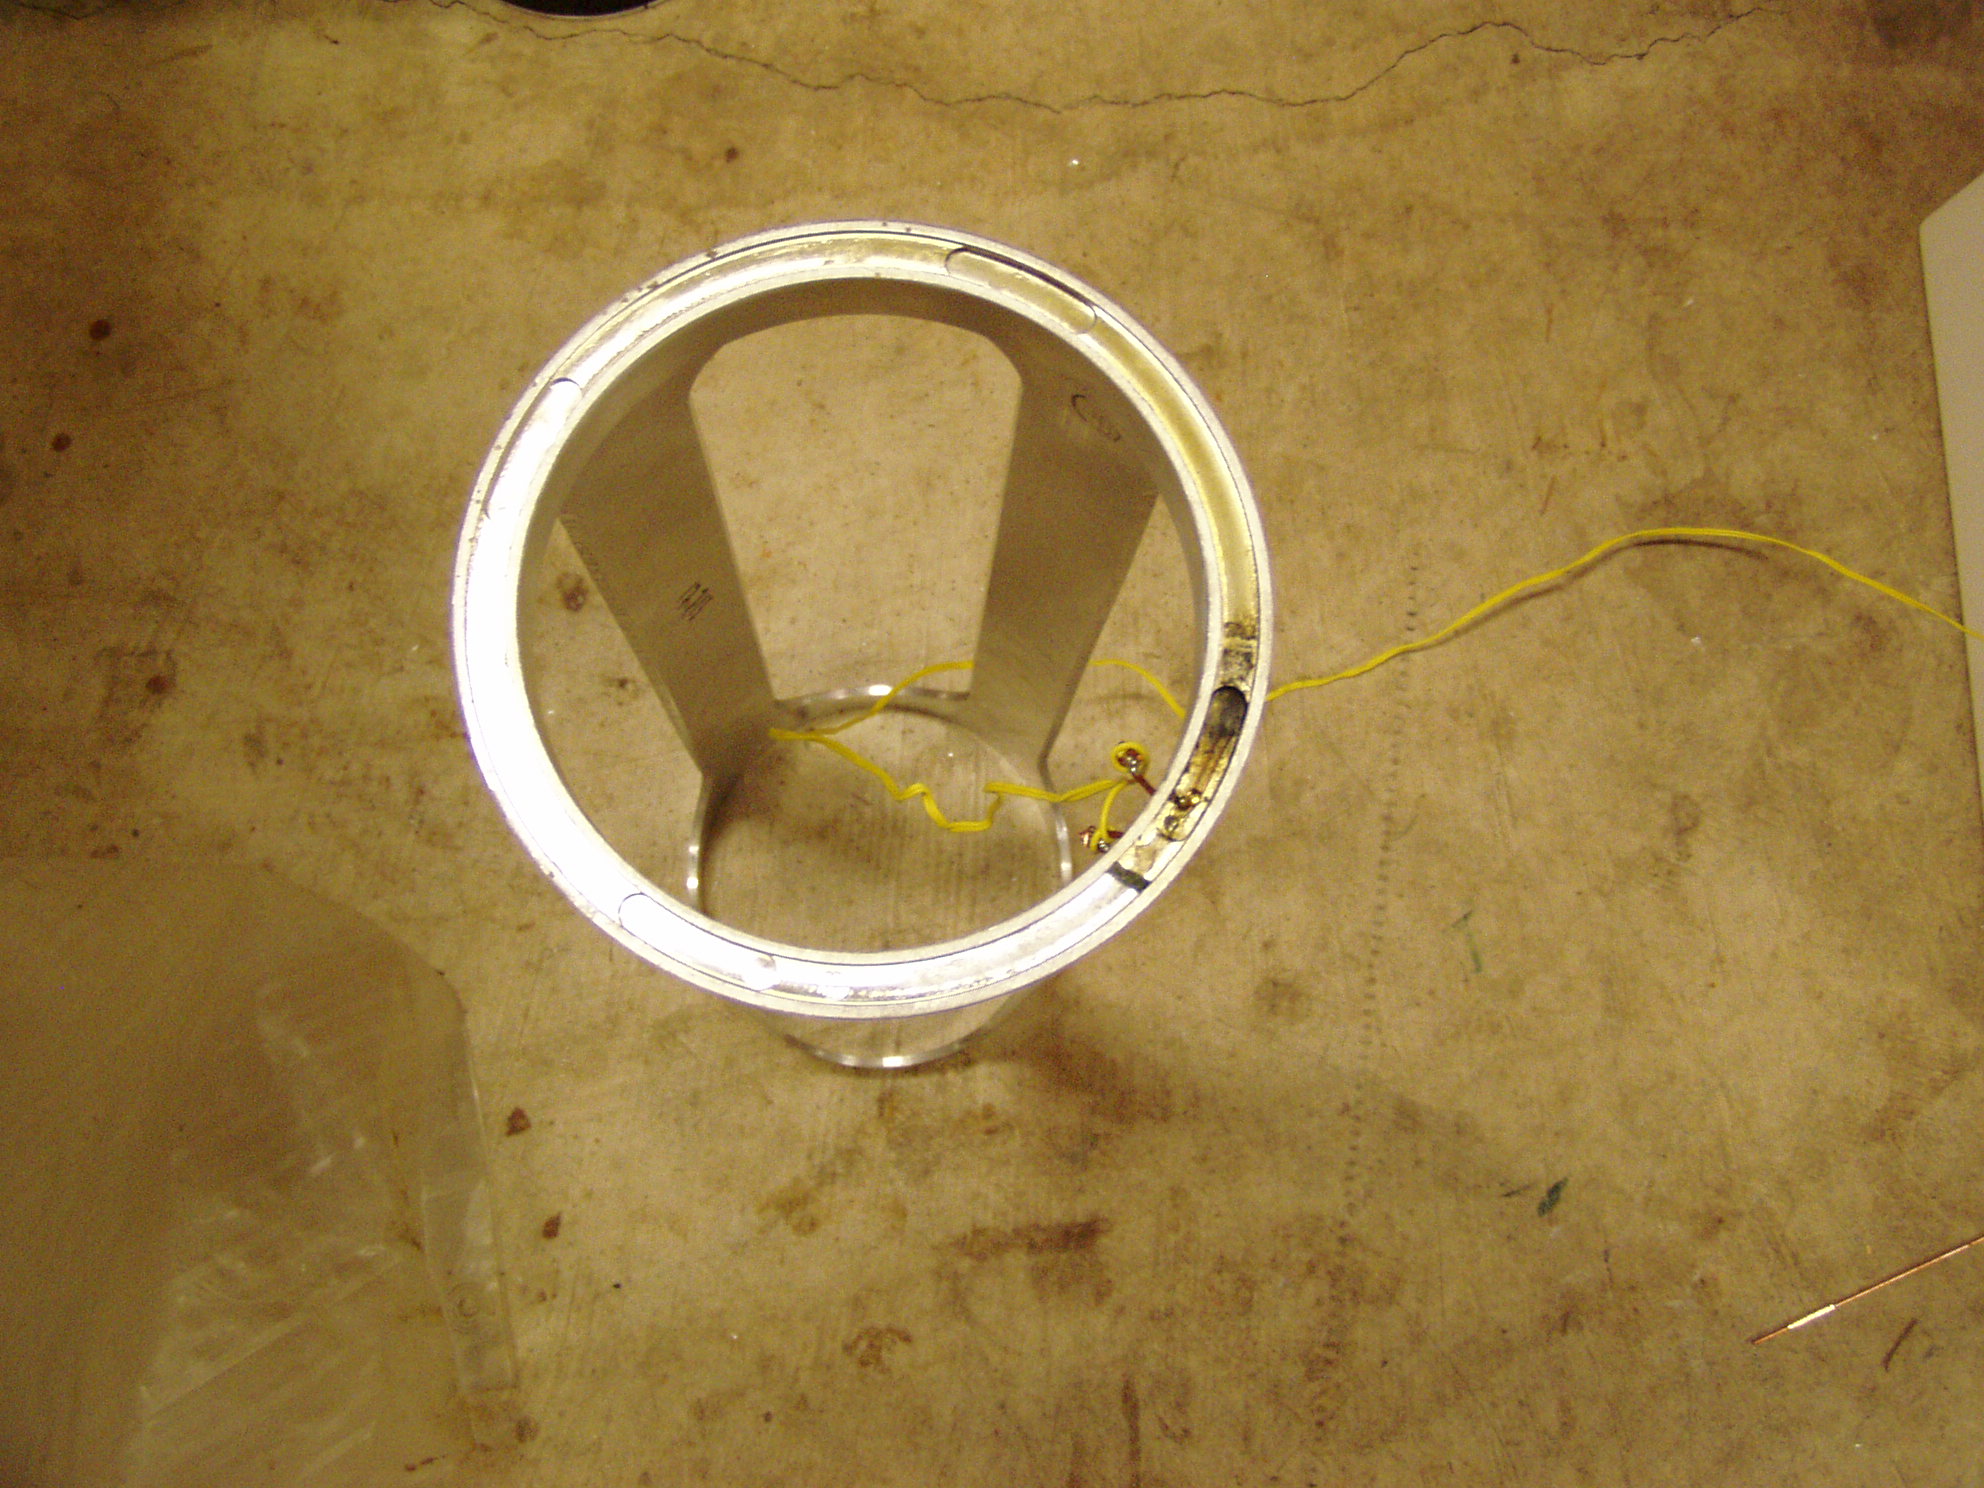
NSR Assembly Procedures
Cleaning
- unsolder old e-matches from NSR bottom
- soak NSR rings in acetone to dissolve previous super glue, about 3 minutes, keep the puddle thin as it can dissolve epoxy of the coil wire on the bottom NSR.
- on each, before acetone evaporates, take razor blade and scrape off the crud from the mating faces. Make sure not to gouge into the faces of the NSR with the razor.
- use razor blade to remove excess glue from outside and inside diameter of rings.
- clean out any excess powder or glue from the powder wells

Sanding
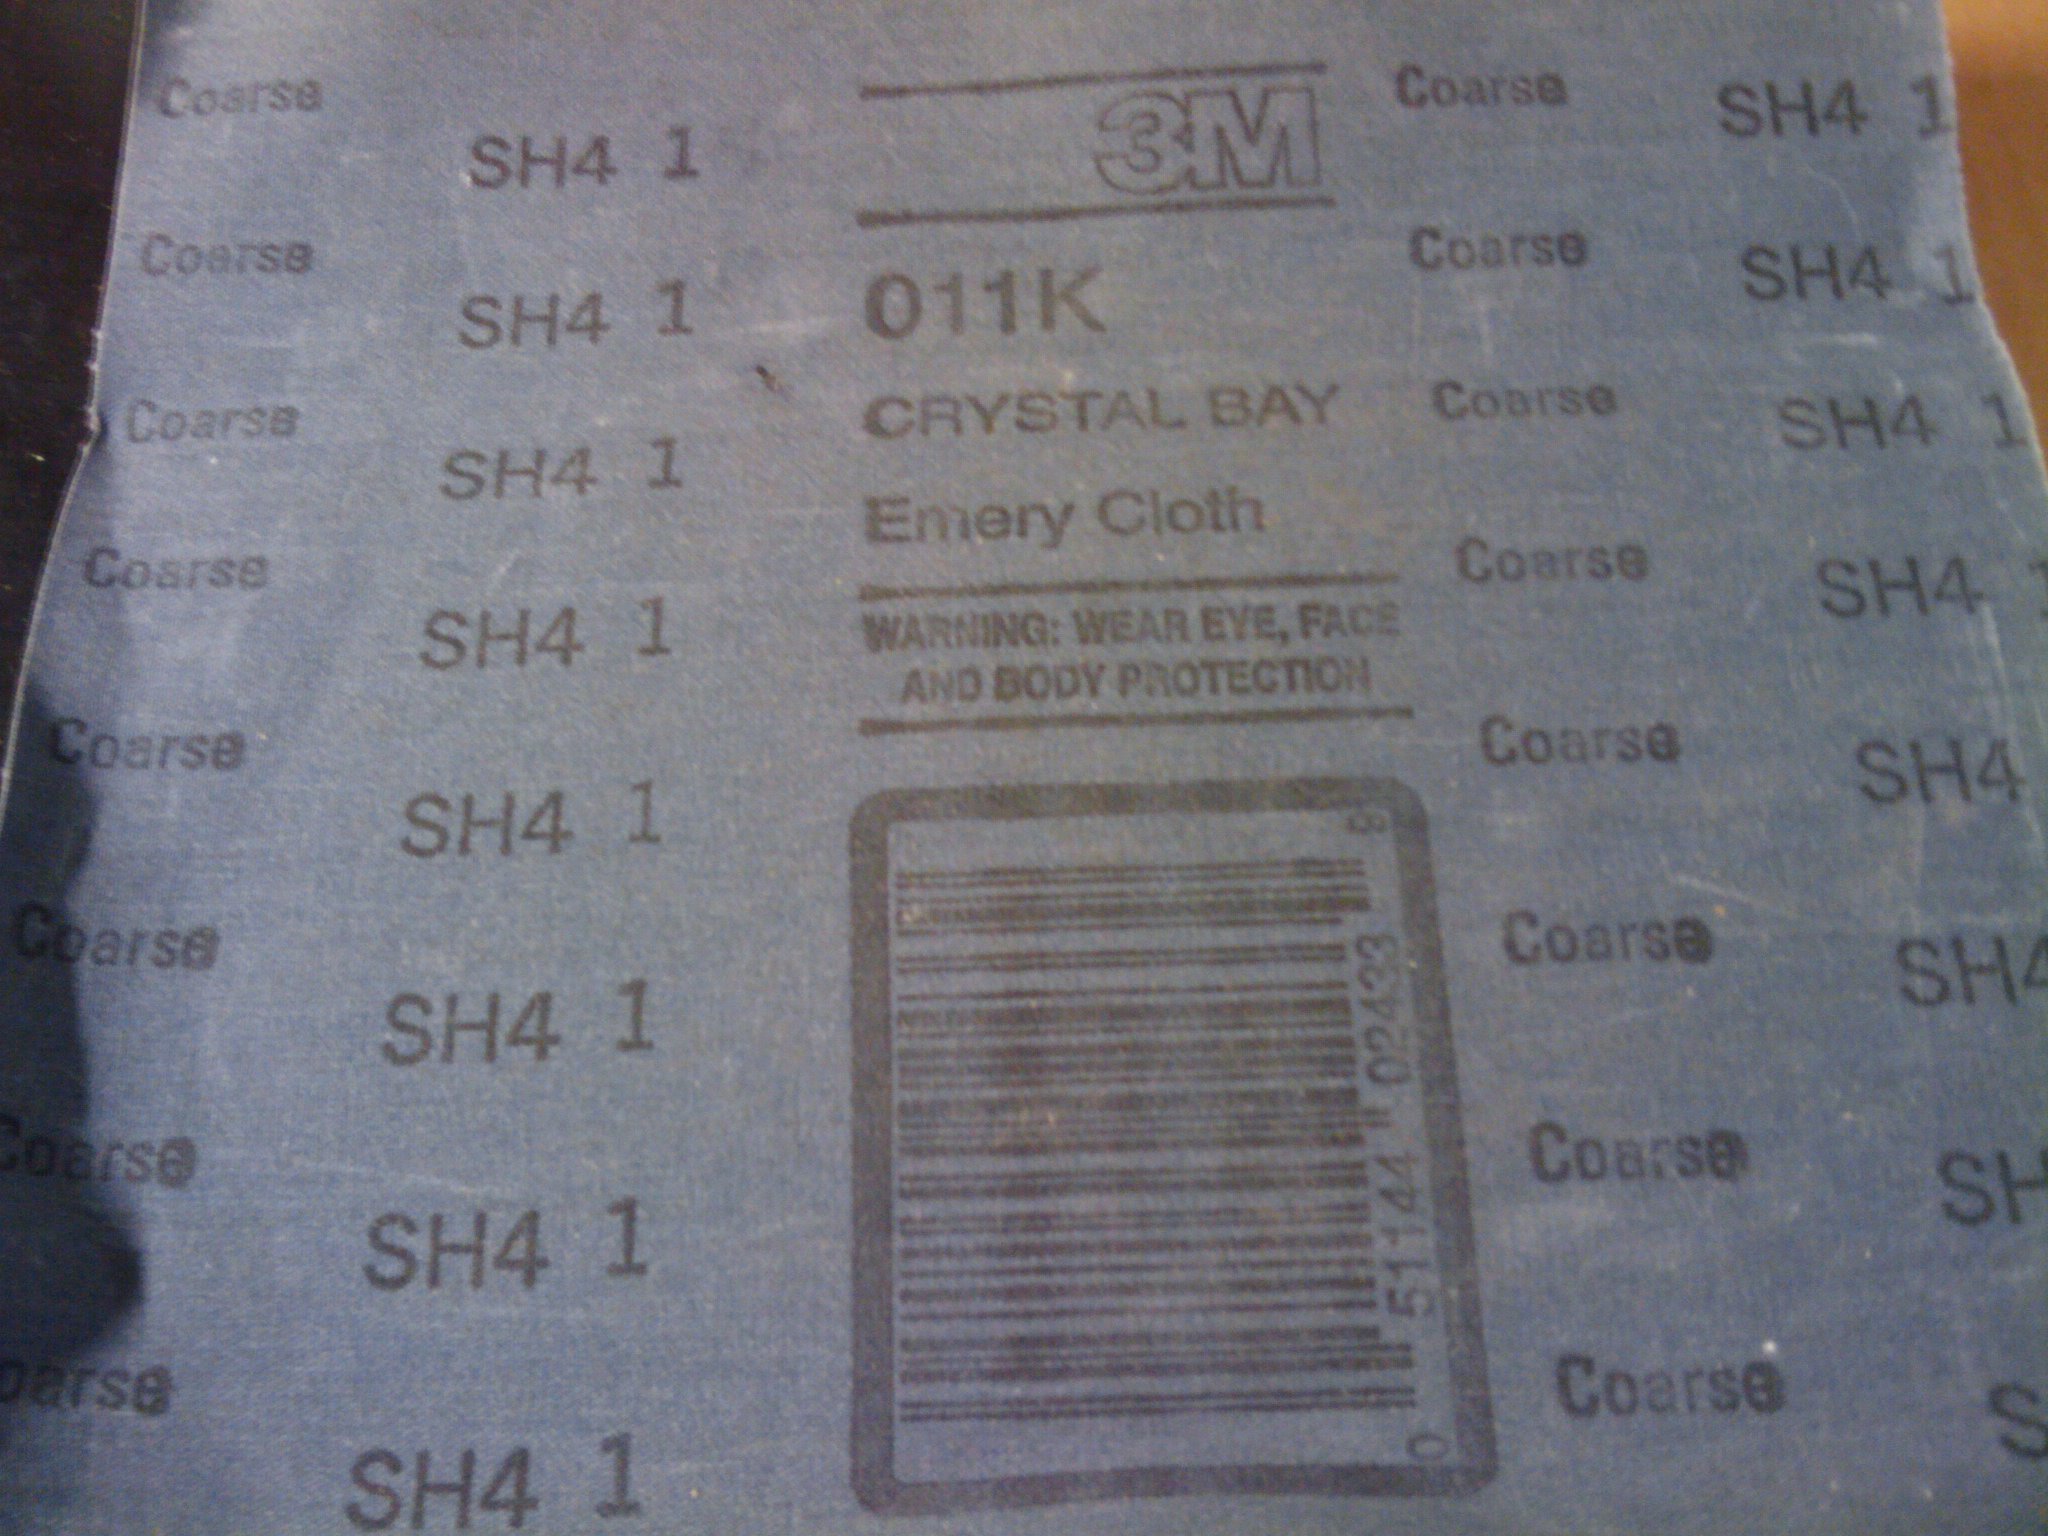
- use flat block, and emery cloth, and lightly sand the mating faces of the top and bottom halves of the NSR. Do this by placing the emory cloth on the flat block, holding the face of the NSR down on the emery cloth and lightly sanding back and forth, rotate 45 degrees, repeat, rotate 45 degrees, repeat; until you've gone 360 degrees. Bare in mind, especially on the bottom part of the NSR, this will actually remove material from the NSR, so you don't want to take too much off. The goal is flat and 'roughed' surface such the glue has something to stick to. We're not sure what grit the sand paper is, but we're guessing about 220 grit, it's "3M 011k crystal bay emery cloth", bar-code is 0-51144-02433-9 if thats helpful at all... -set NSR top and bottom faces on each other and verify that there are not gaps and that it doesn't rock or anything

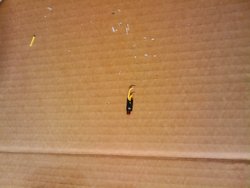
Pyros
- clip e-match from wire, wrap solder-part of e-match with electrical tape or heat shrink, leaving some wire lead, cut one of the wires about to about 1/4 inch long and strip the very end of the wire, enough copper to solder to the nsr. measure the other length of wire to the correct length and strip similarly. pre-tin wires. bend radius accordingly, carefully solder to nsr, making sure solder does not go above mating face of NSR. Be aware, length of wire affects total grain load into the powder well, keep them as short as reasonably possible. Use fingernails to strip, not wire-strippers so as to avoid nics in the copper wire. Ohm meter test the pyros, verifying 0.8 to 1.2 ohms, and that each lead is not shorted to the chassis.


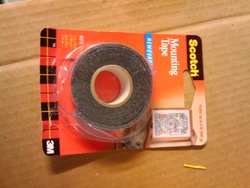
Foam and Powder
- take sticky foam and cut strips that are about 1/8" wide and stick them to either edge of the powder wells, making sure that they do not lip over onto the faces of the NSR.

Final Glue
- We used medium, mercury brand super glue, new. Run a bead of glue around the bottom half of the NSR faces. It helps to razor-blade out a notch in the tip of the bottle. Quickly set the top half on. Use two pieces of aluminum block or something similar to press the pair into to align the top/bottom halves with each other while your assembling. Place some weight, perhaps a couple pounds, on top of the whole thing over night while it drys.